NOTE: This video/article applies to both types of subminiature connectors (male & female), even though the male type is used in this example.
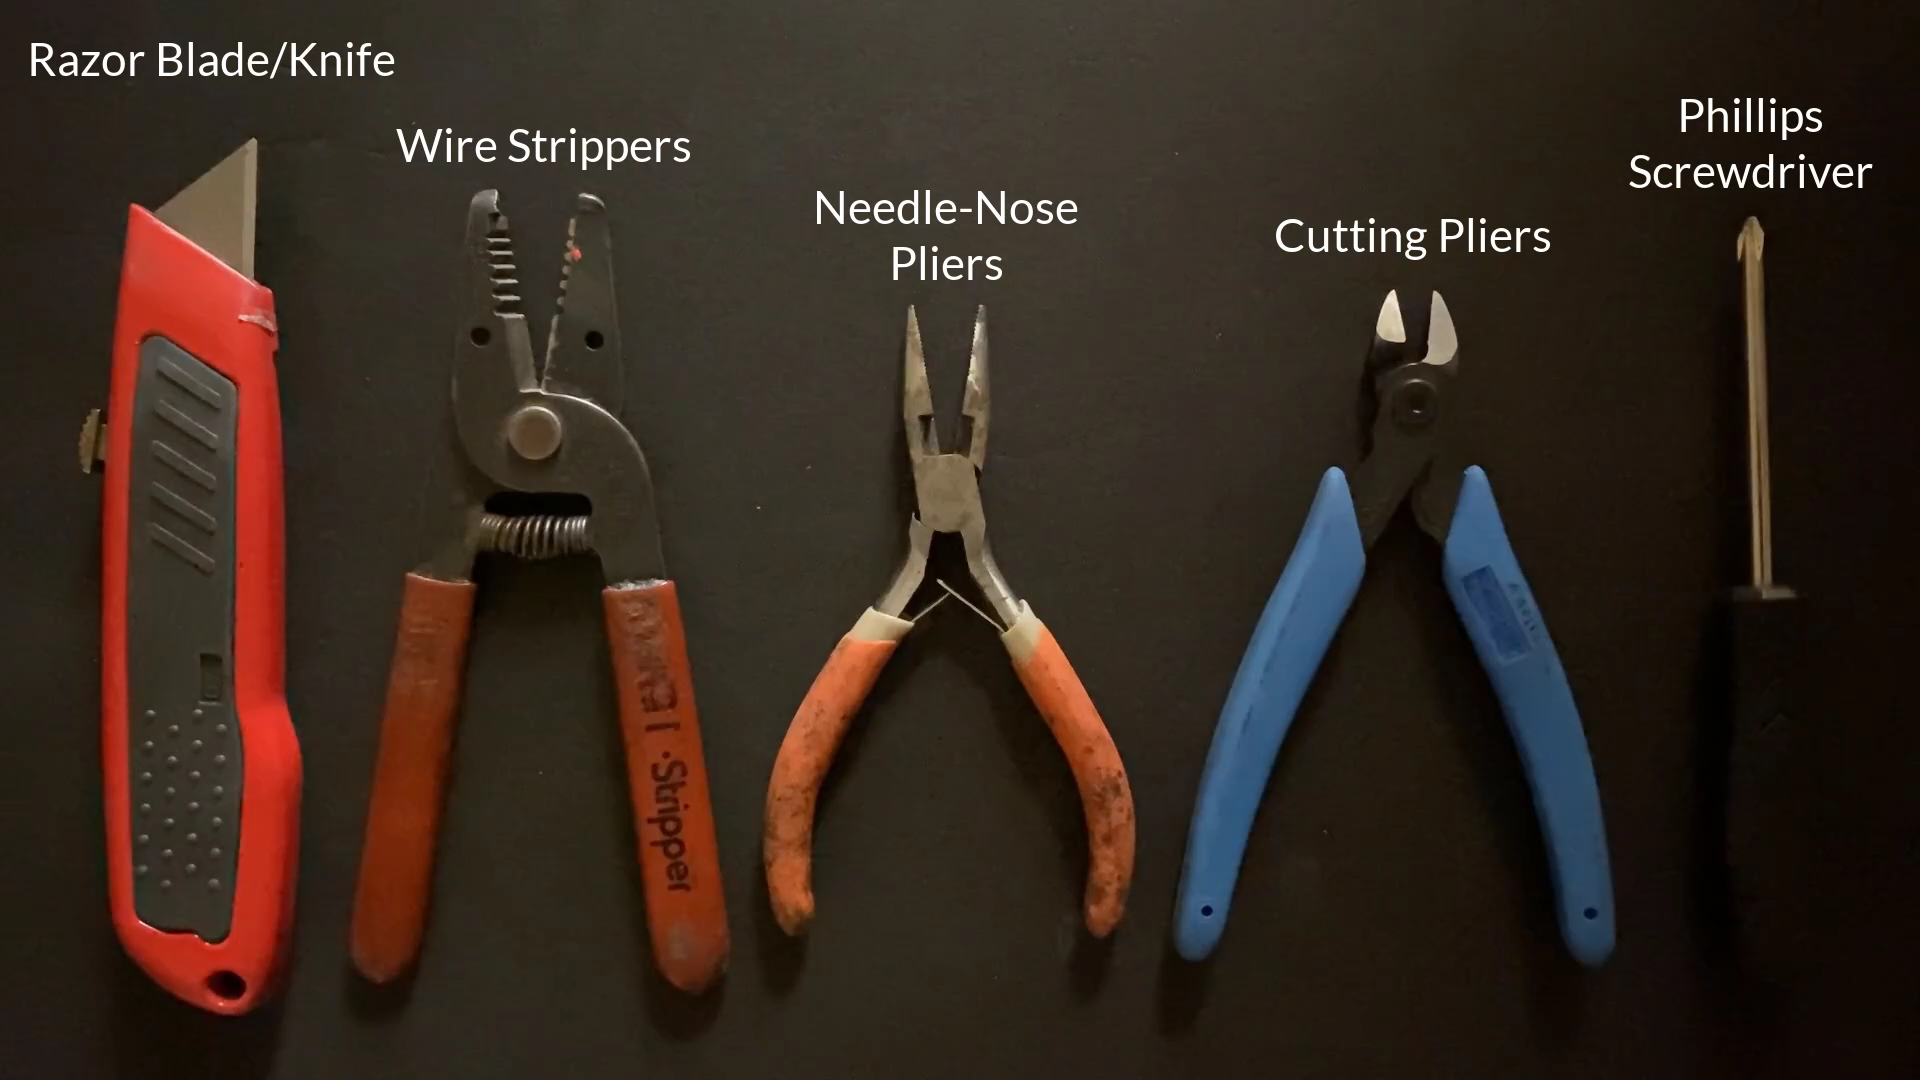
To install the subminiature connector on the wire, you will need the following tools: a razor blade or a knife, wire strippers, needle-nose pliers, cutting pliers, and a Phillips screwdriver.
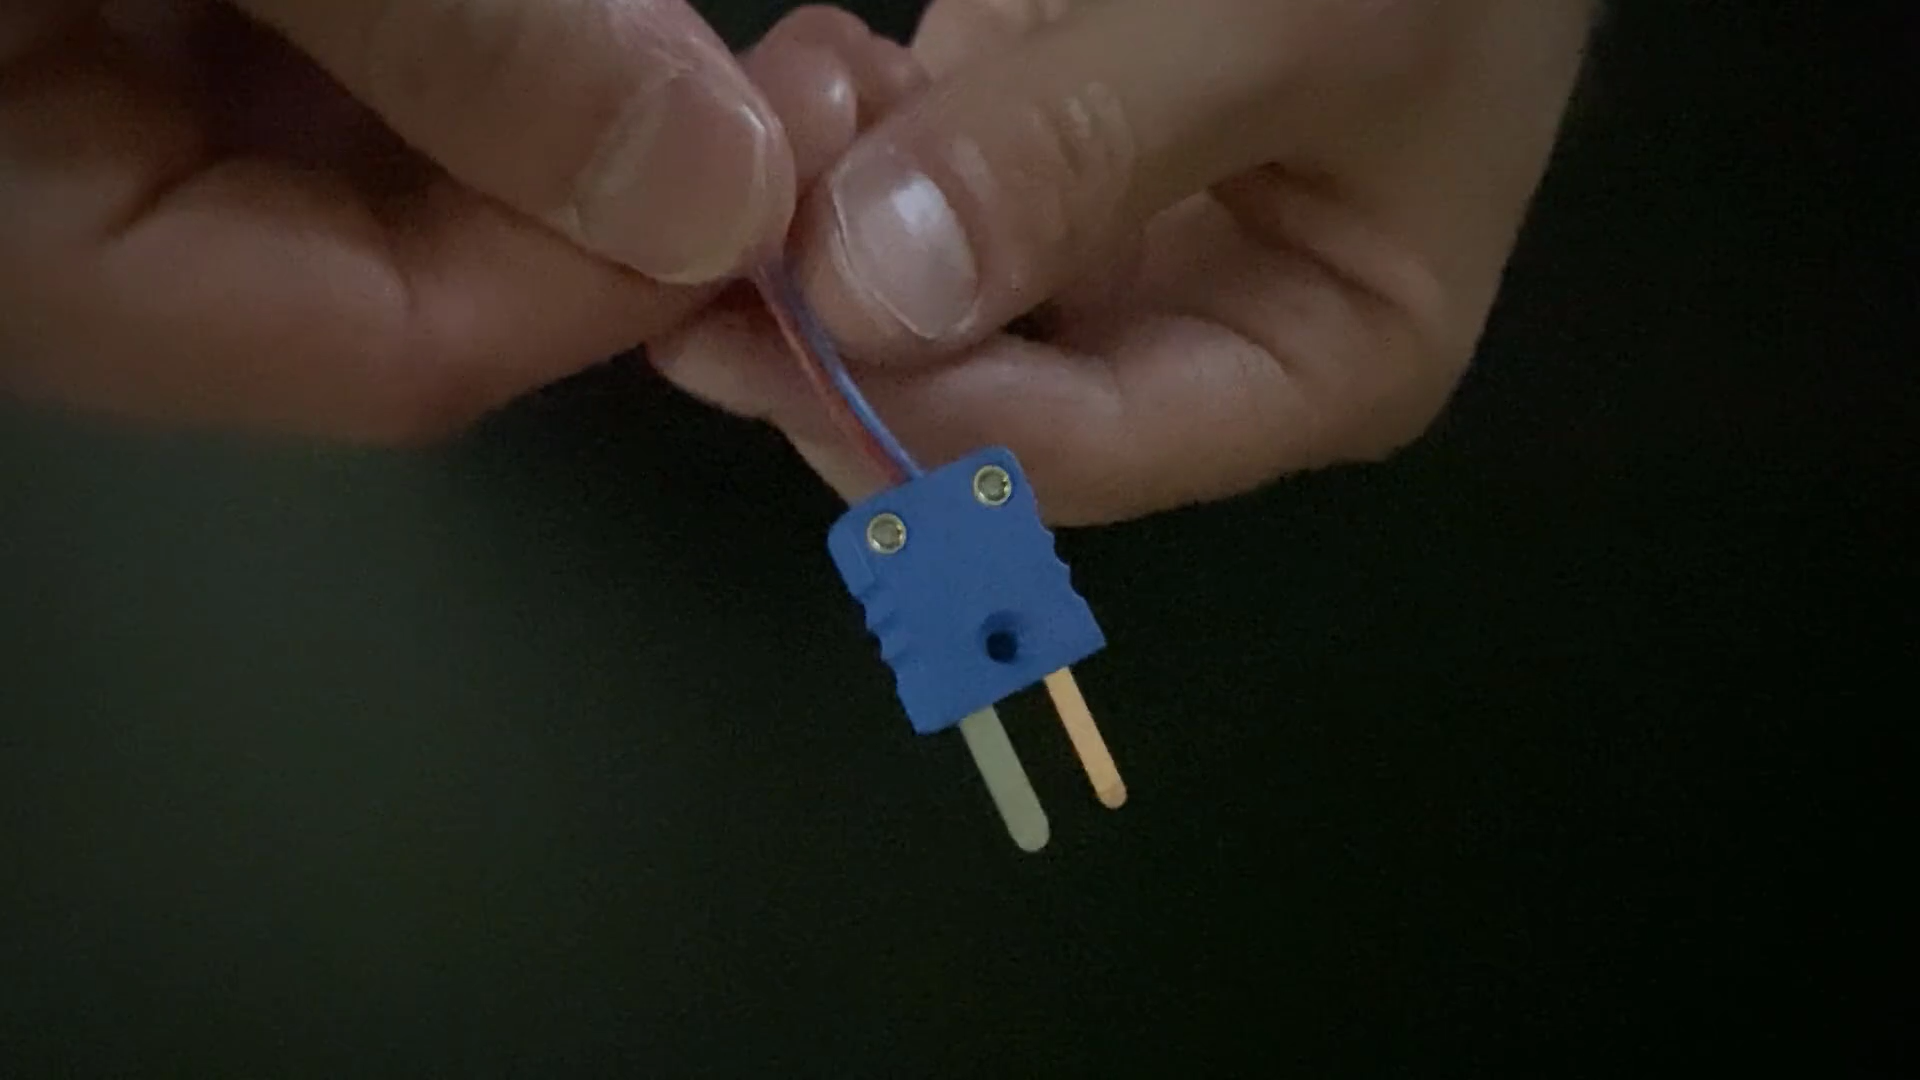
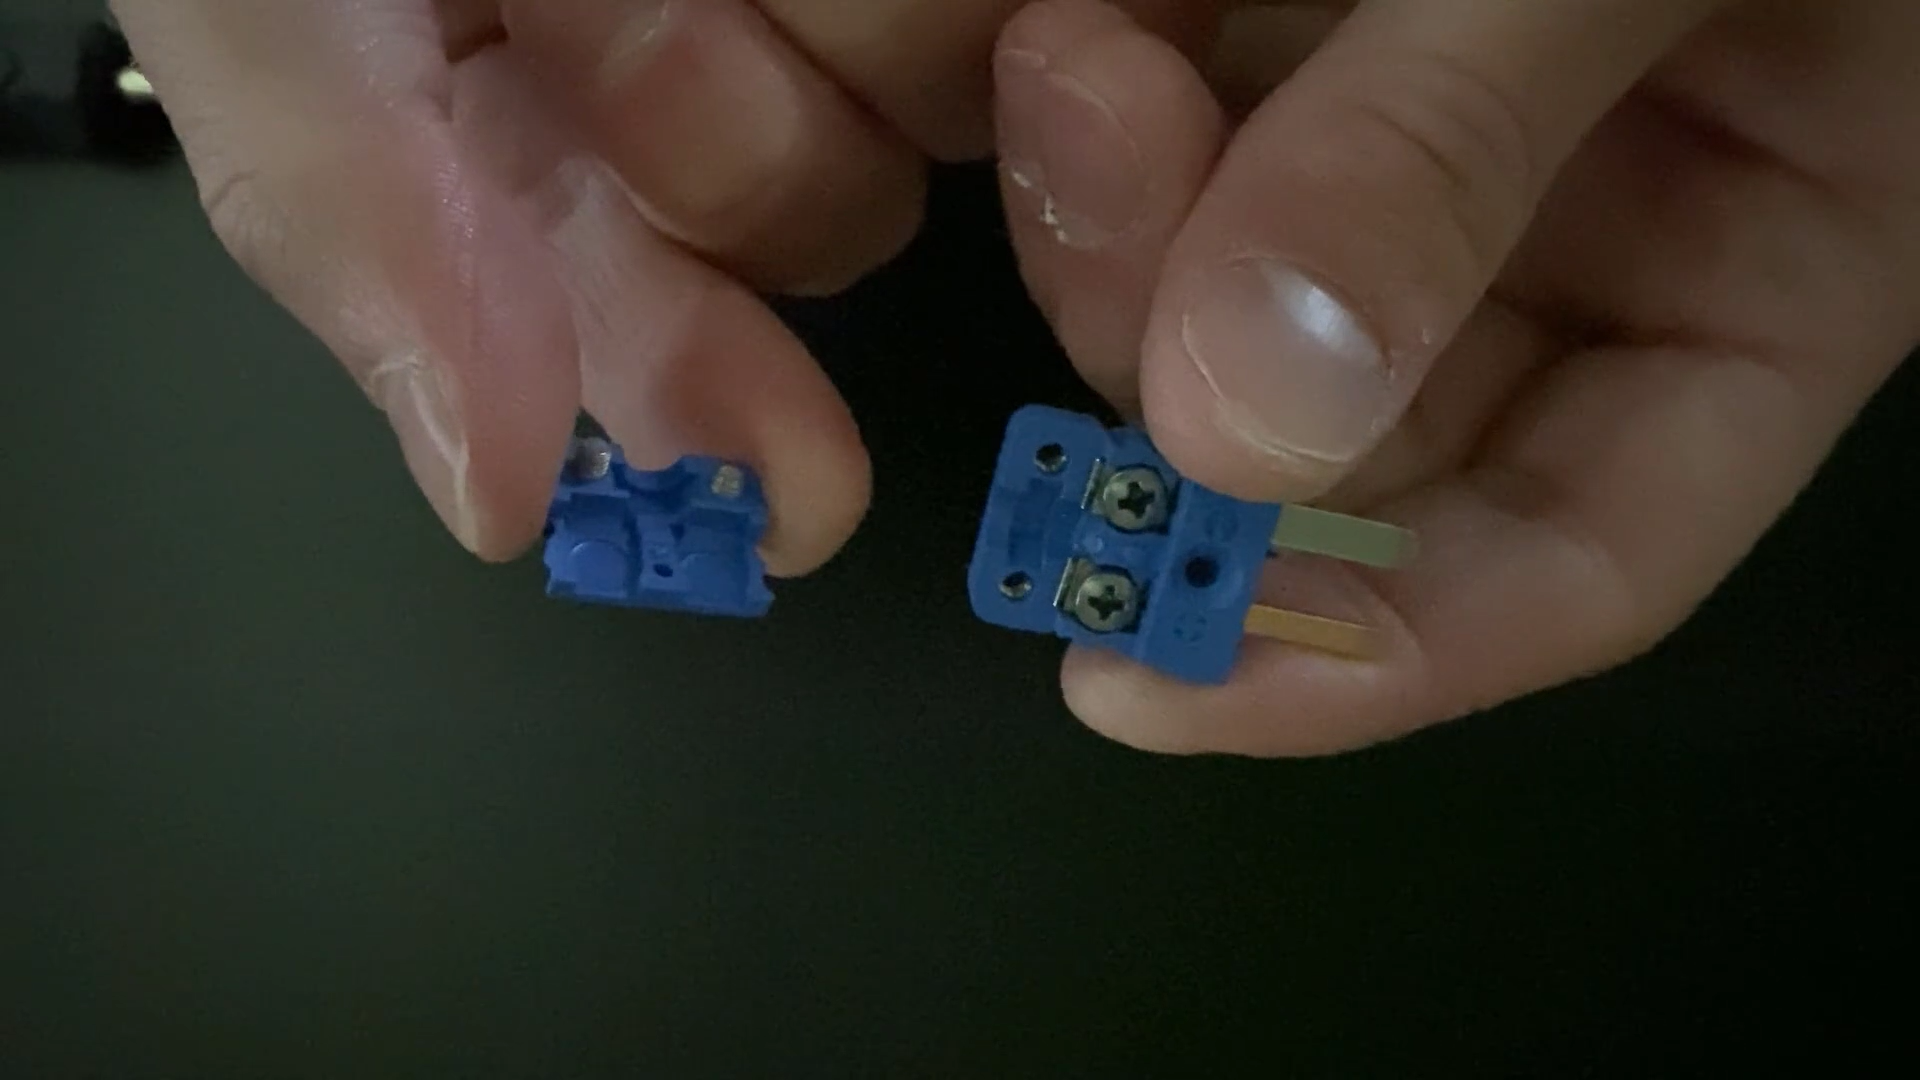
When you receive your Subminiature Connector, it will come already assembled, and you will have to partially disassemble it to install it.
To disassemble it, simply unscrew and remove the connector cover.
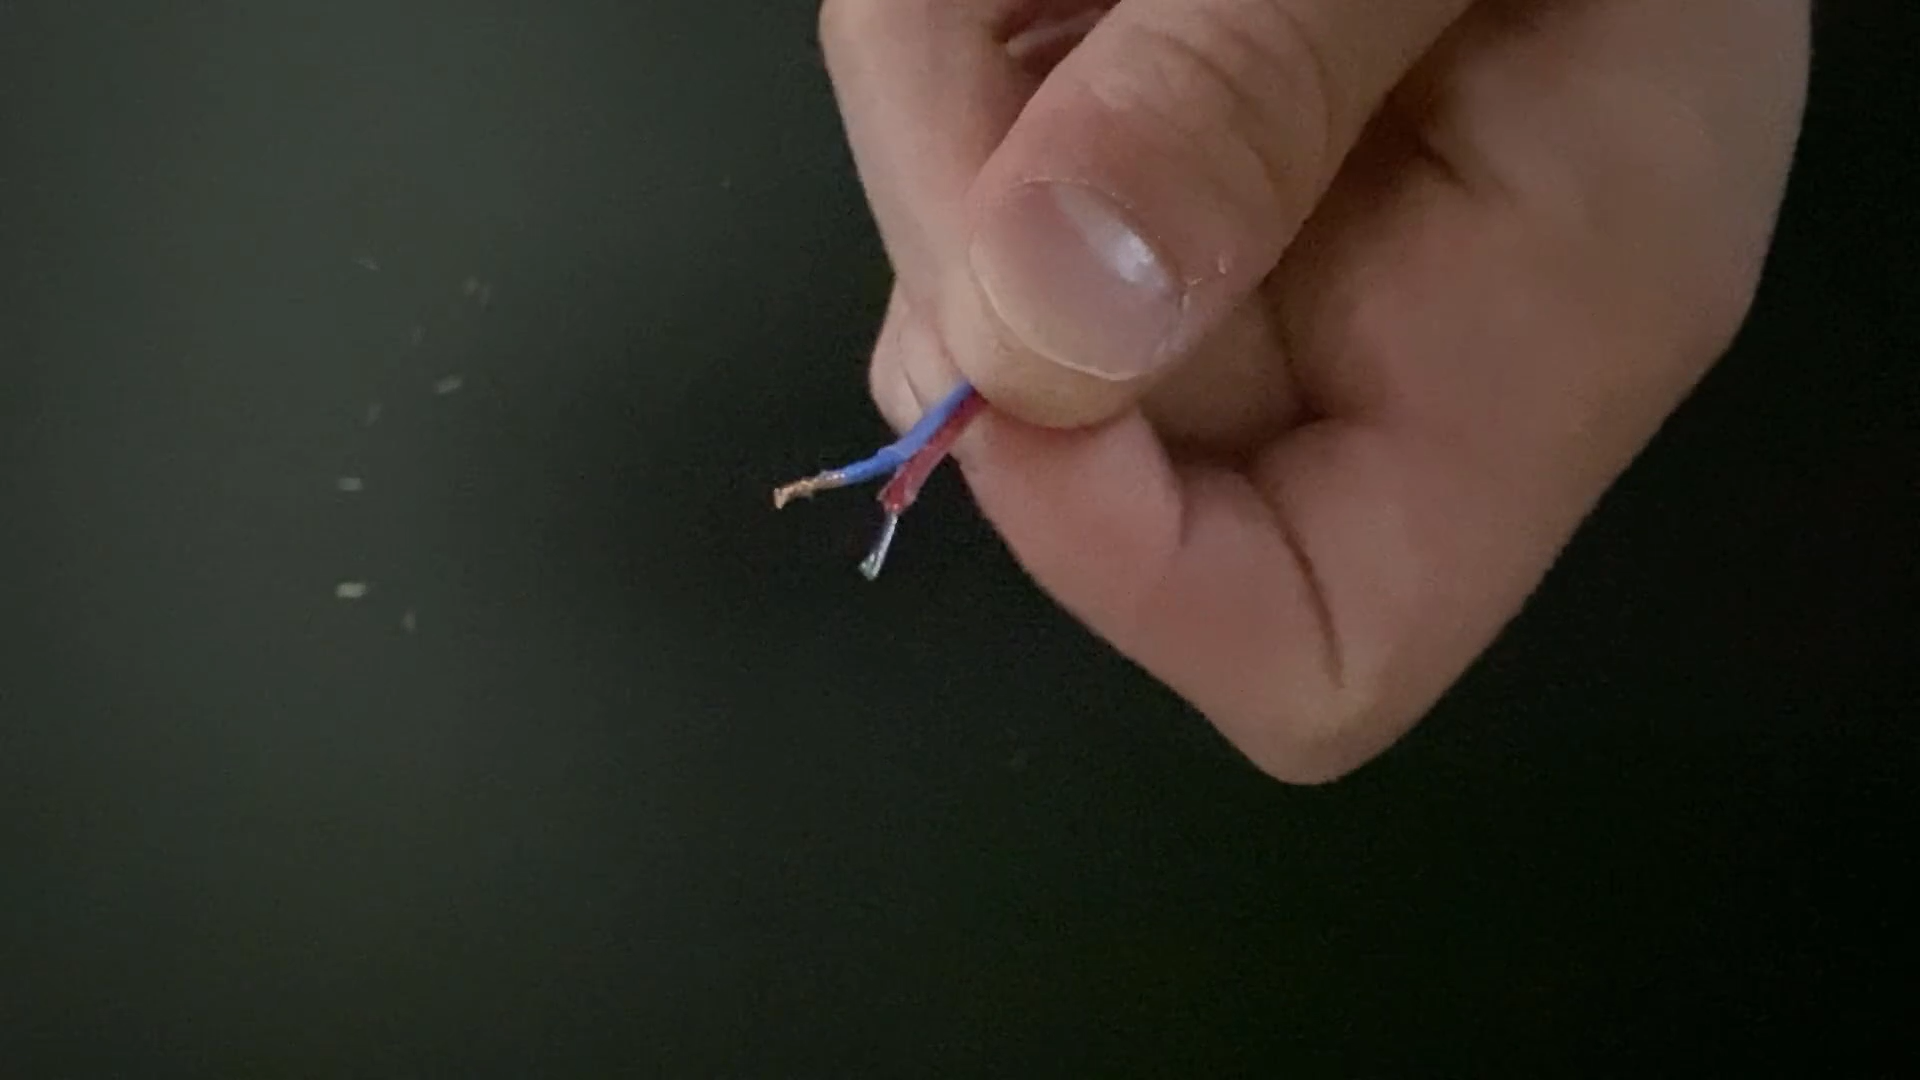
Split the wires with a razorblade by cutting between the copper and constantan wires.
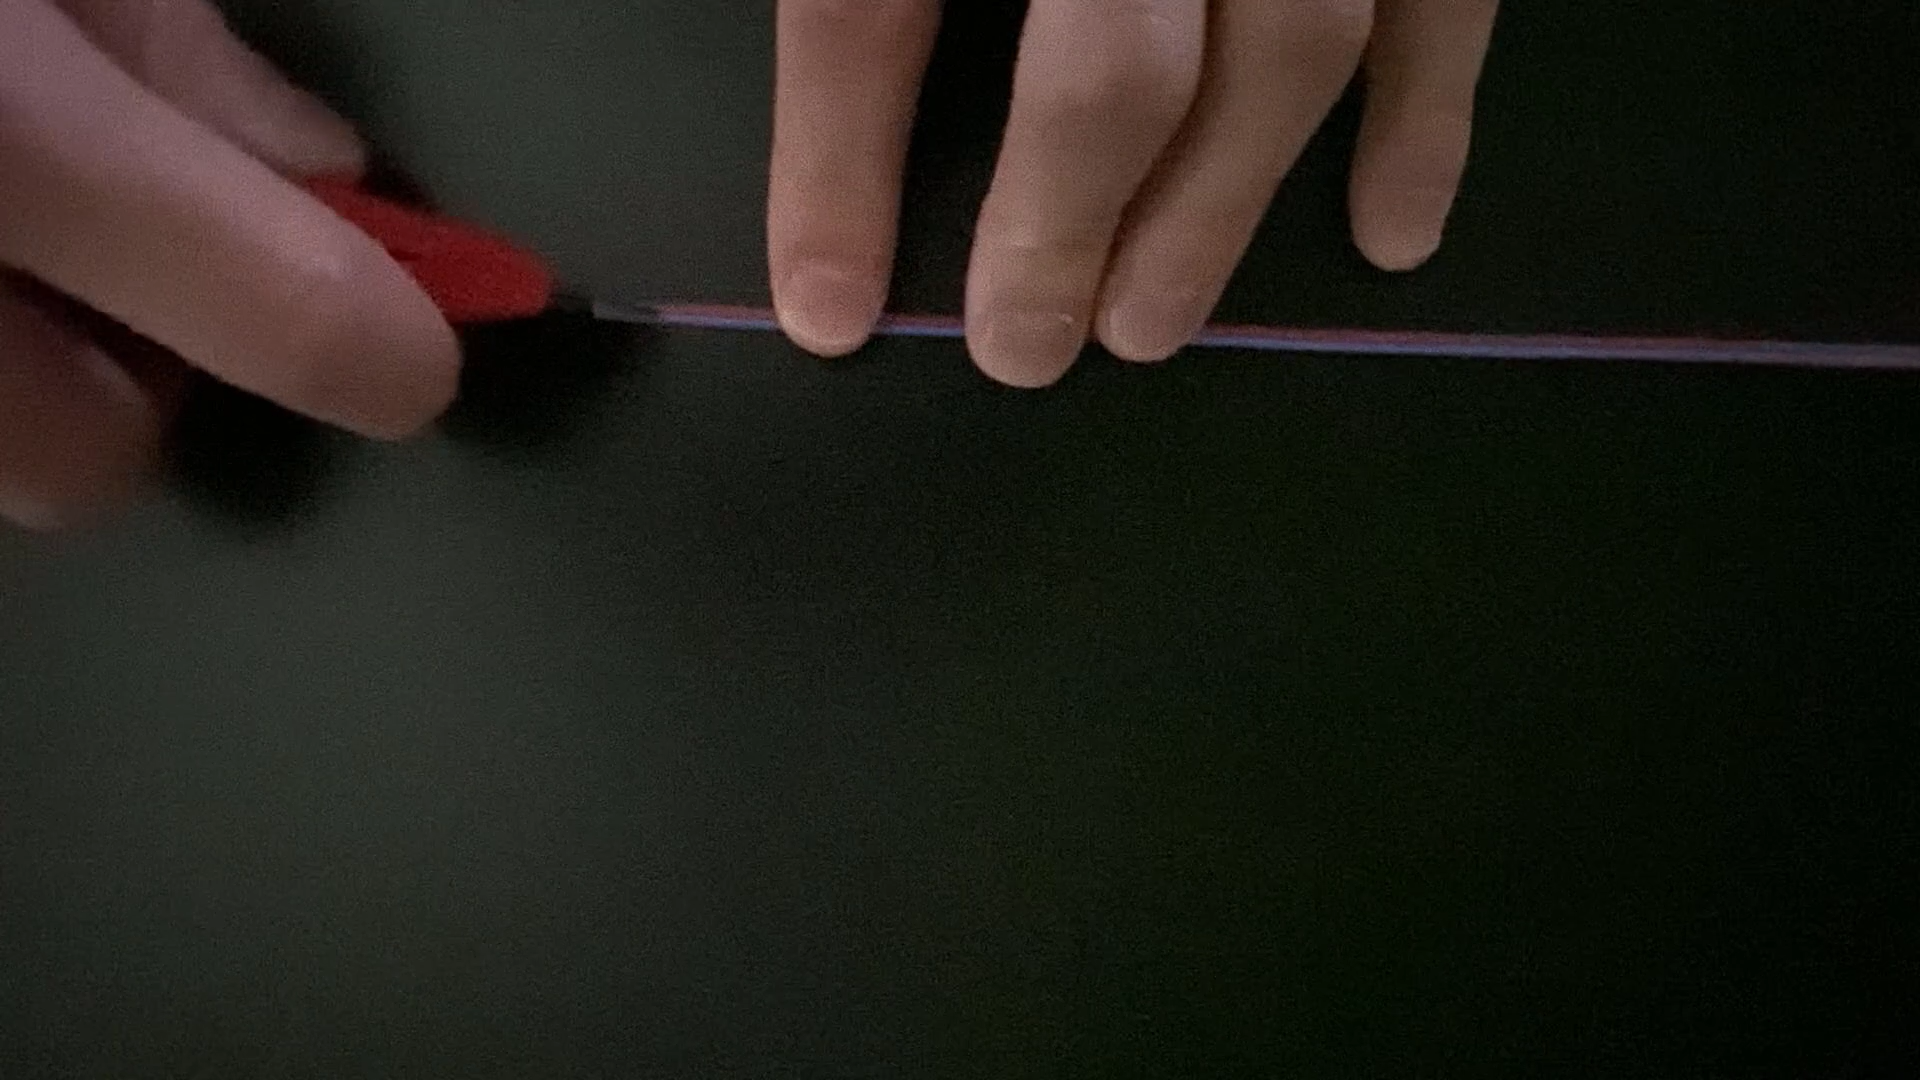
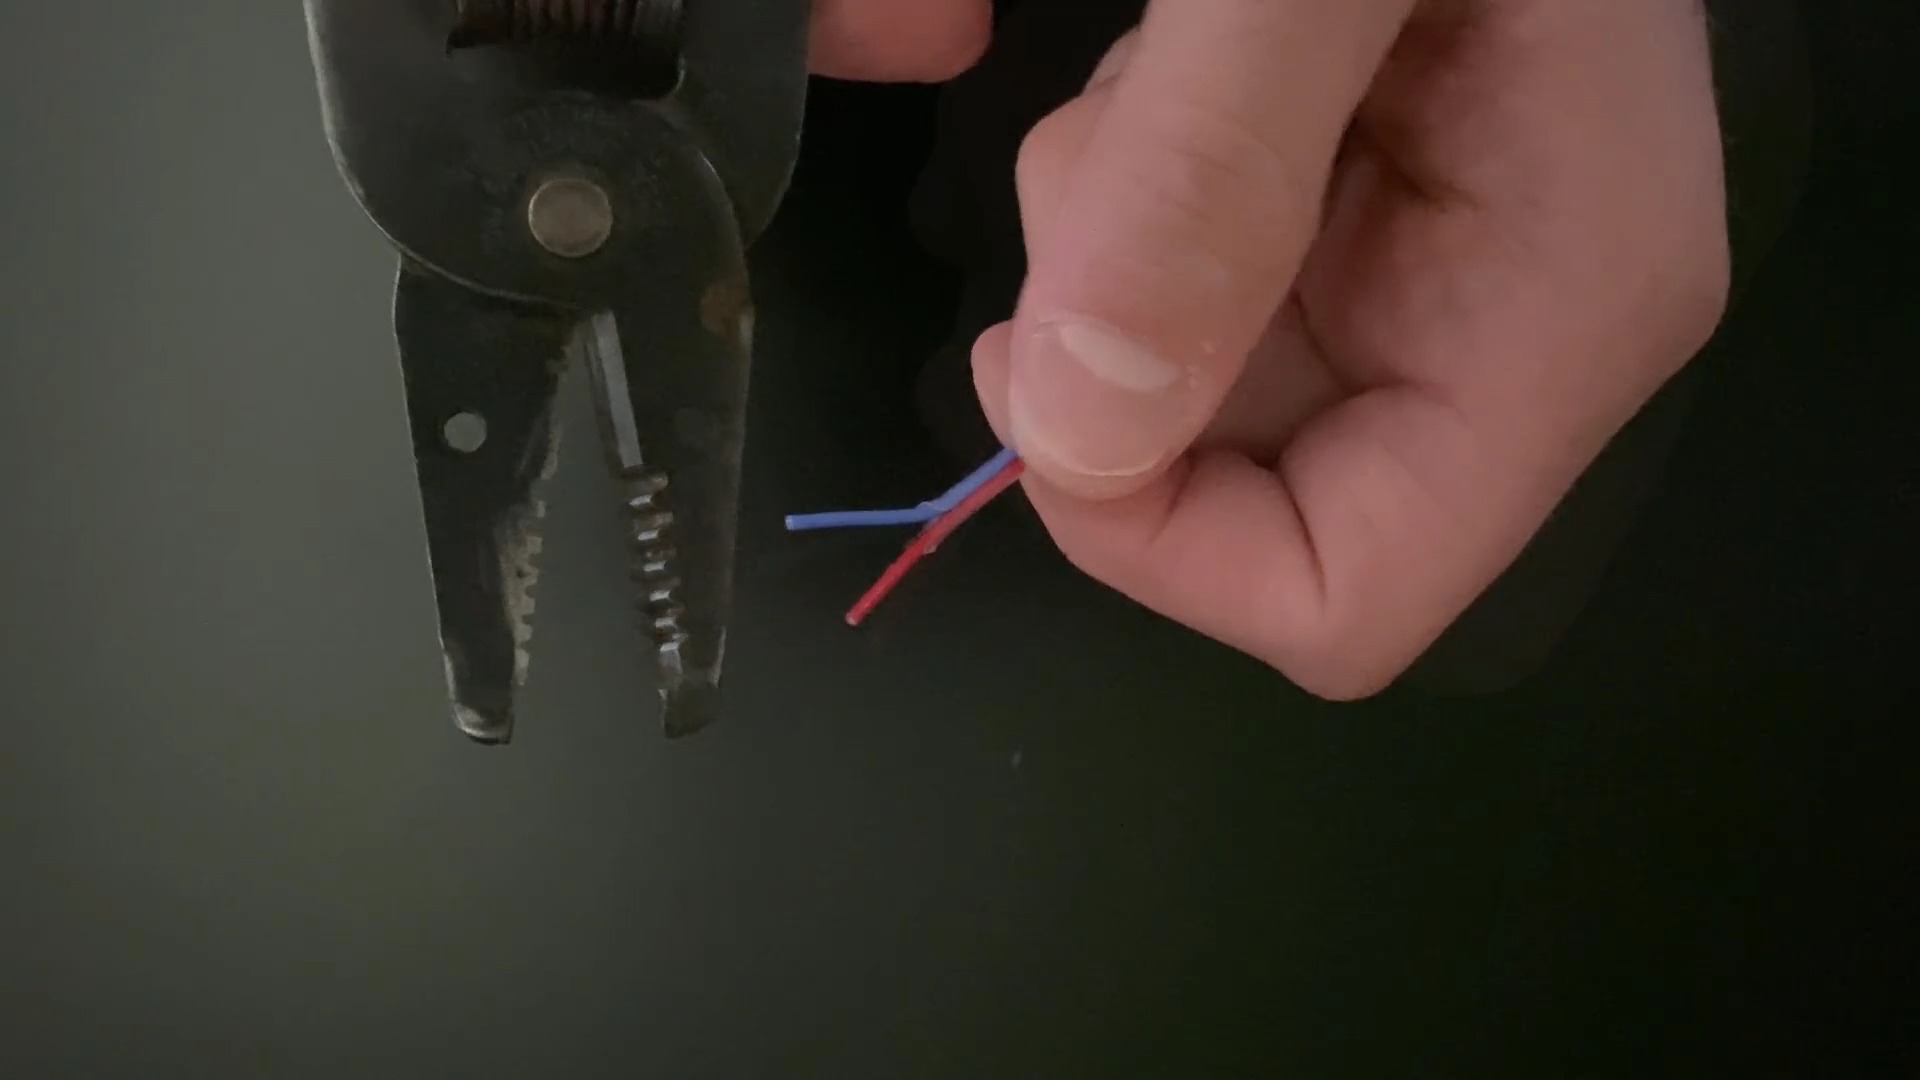
Spread the split wires apart and remove the clear overwrap from the split wires.
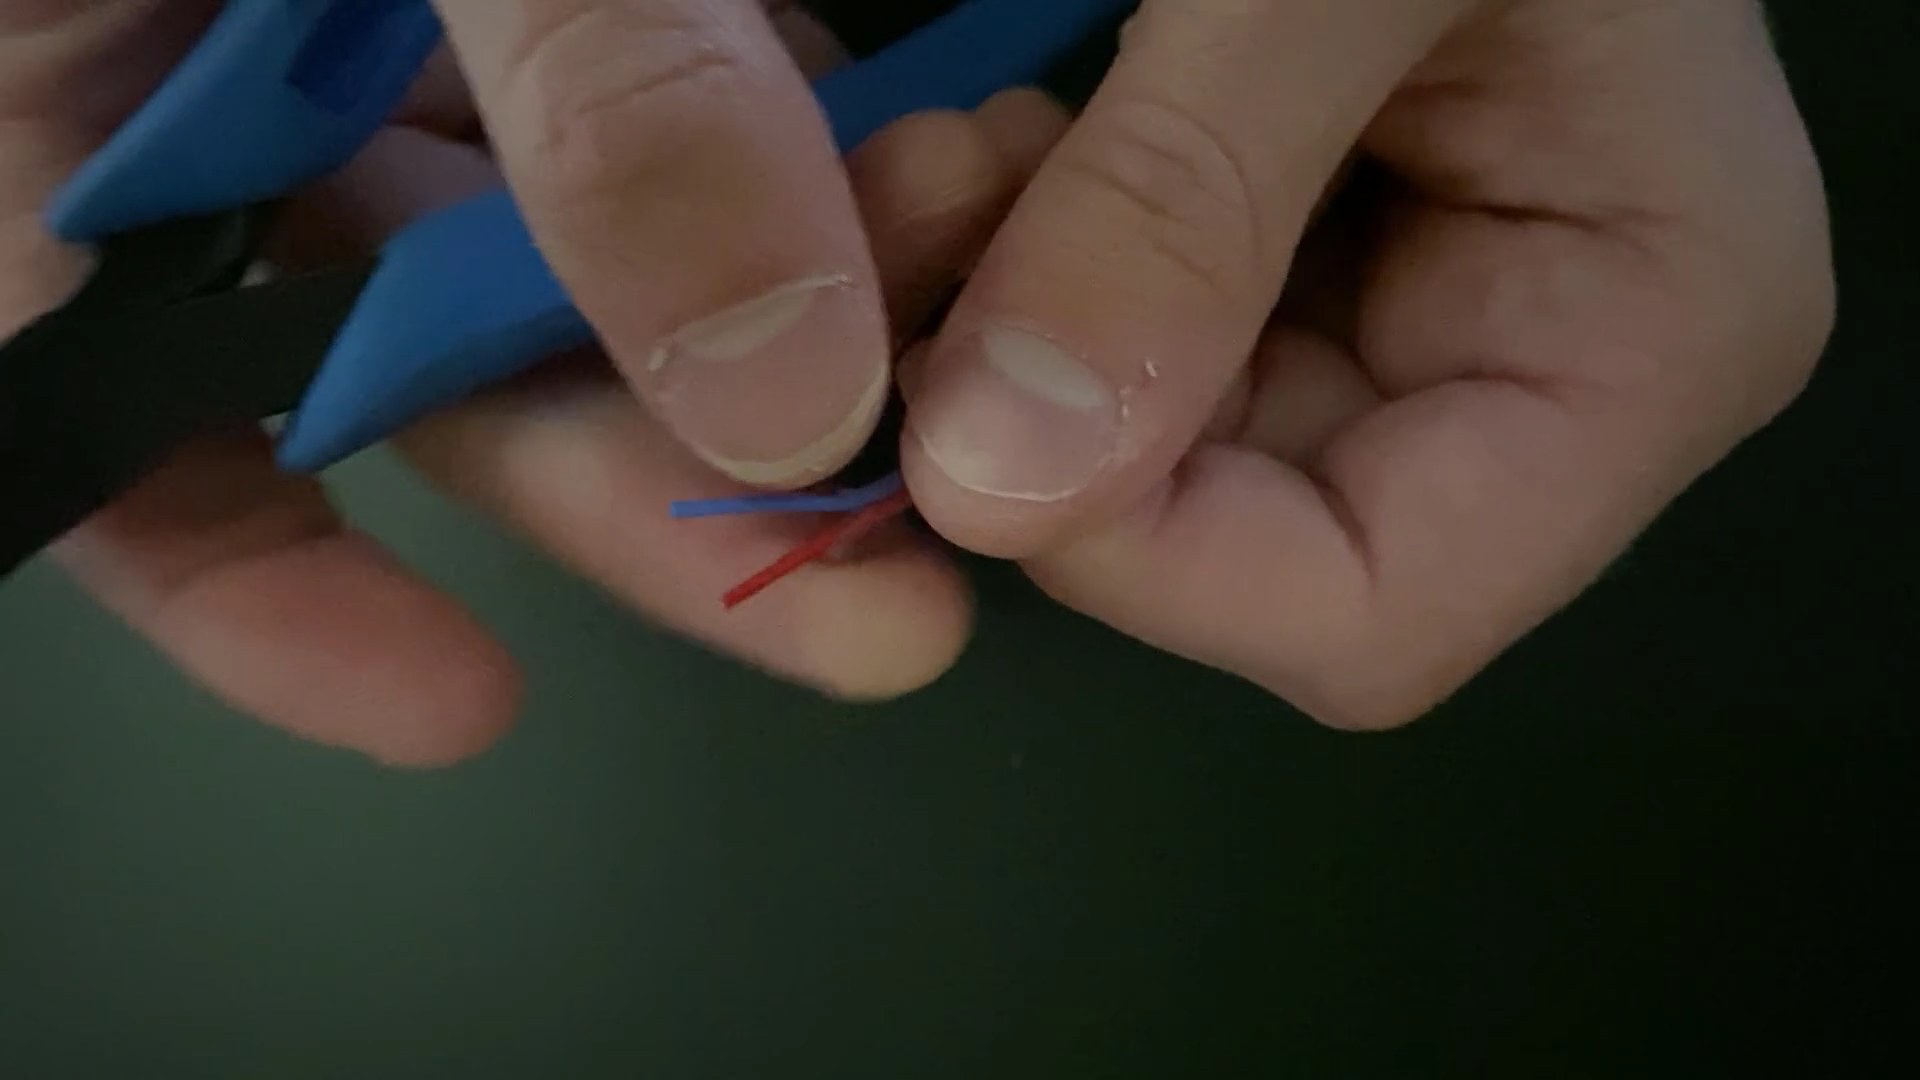
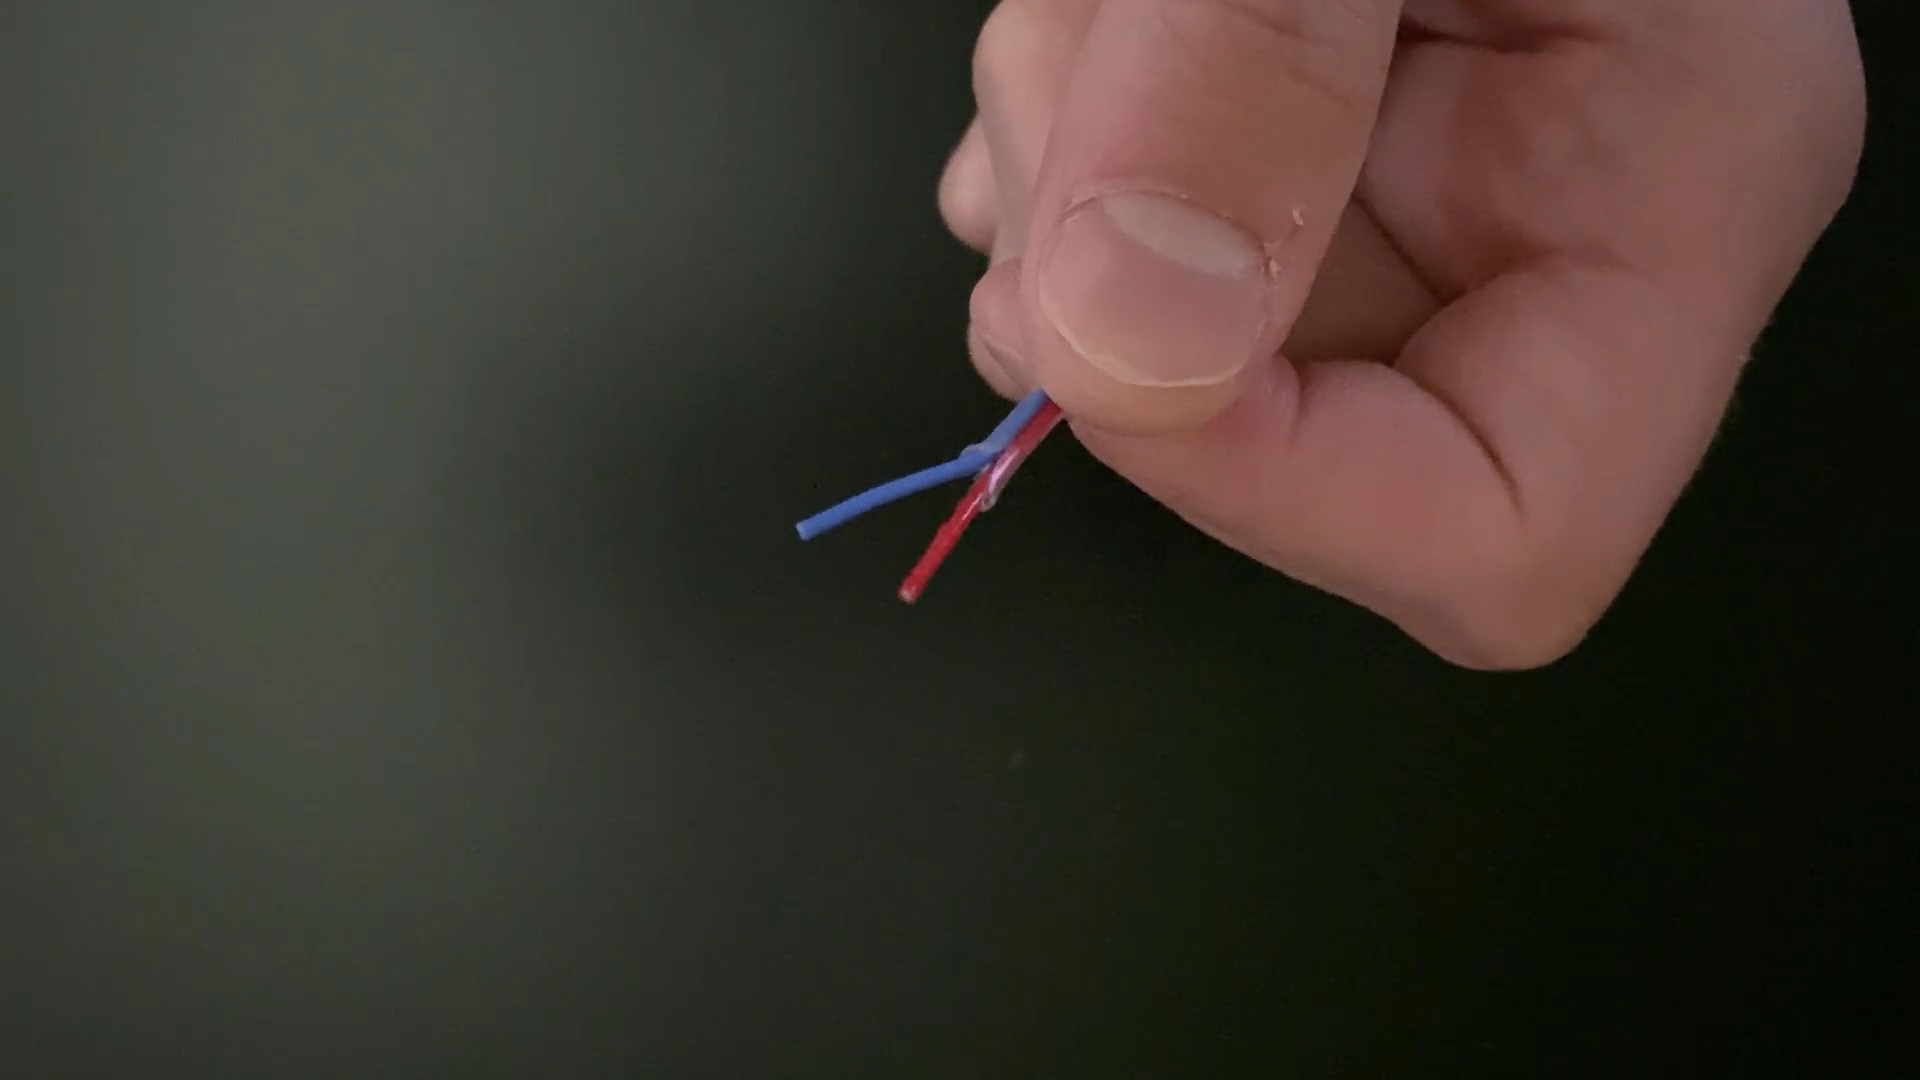
Take the wire strippers and strip some of the insulation off the end of each wire.
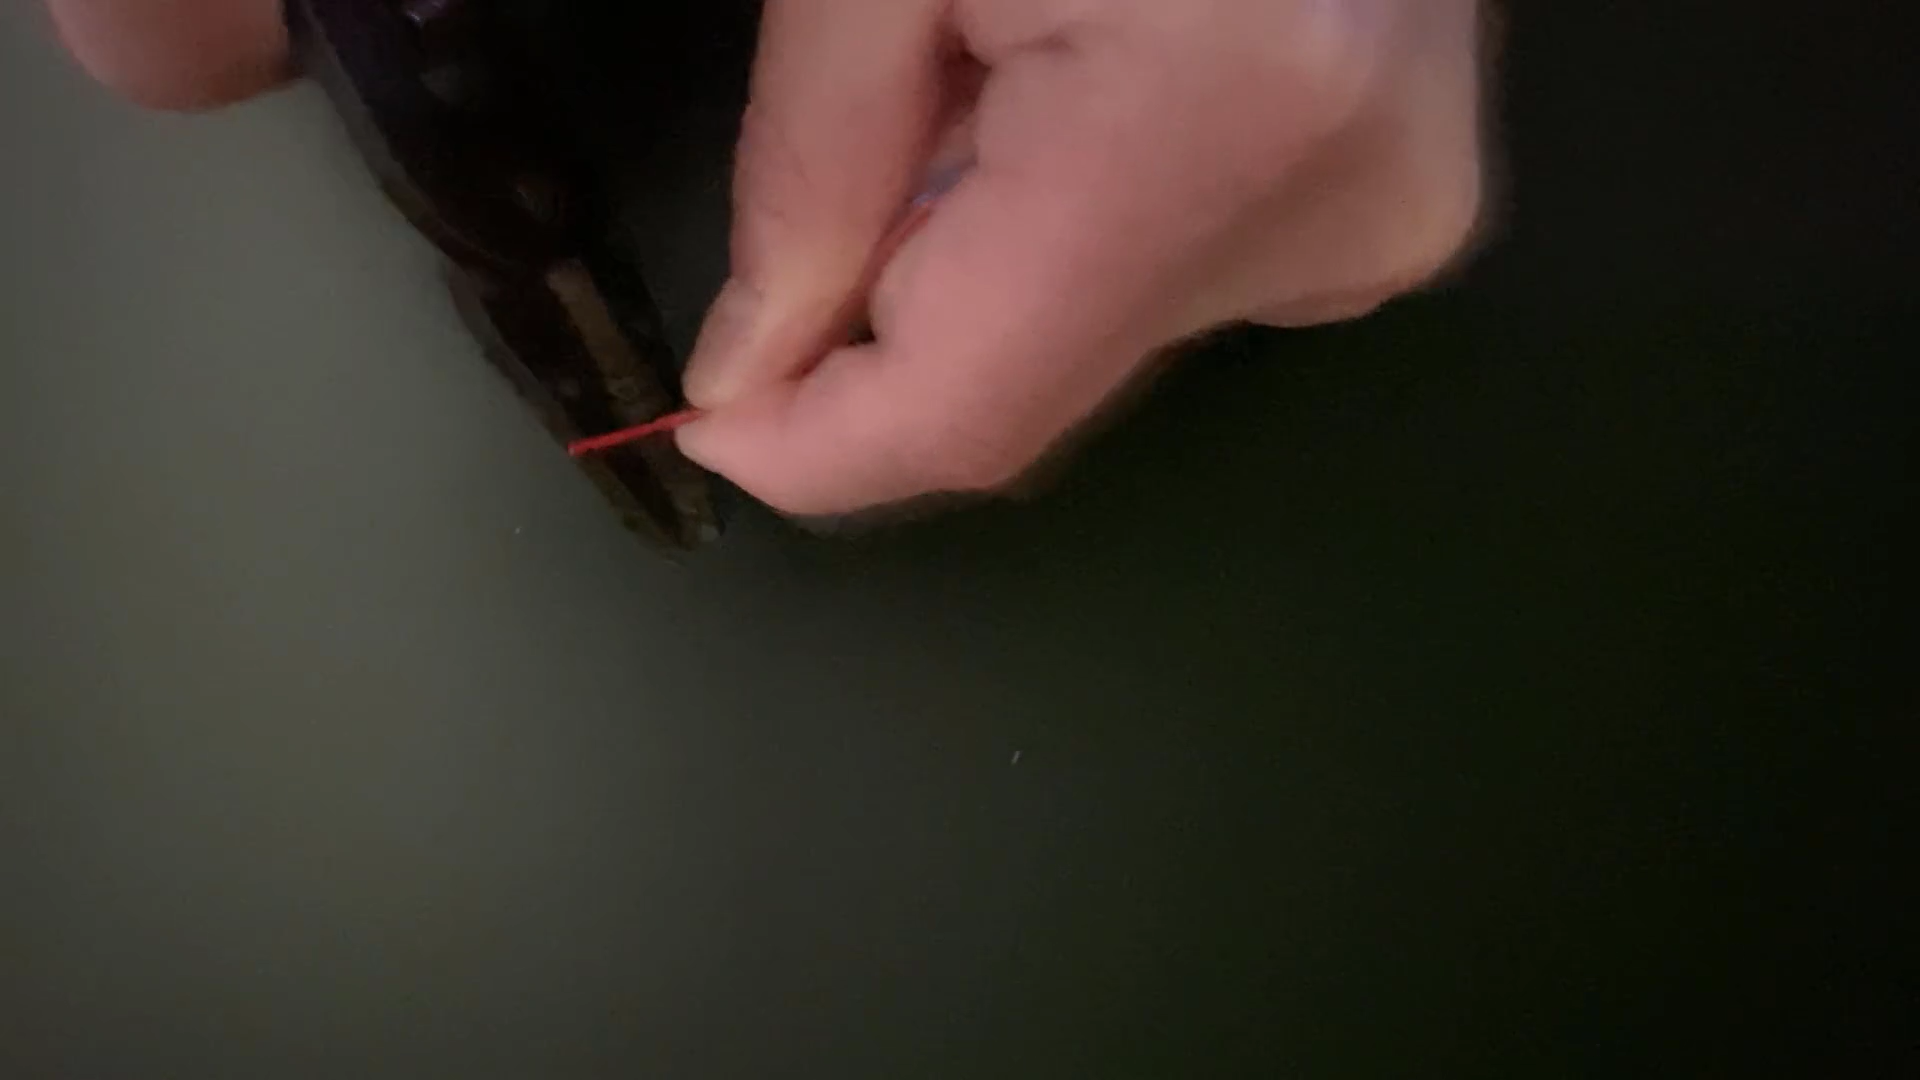
Use the needle nose pliers to twist the ends of the wires so they are both tight and ready to fit between the plates in the connector.
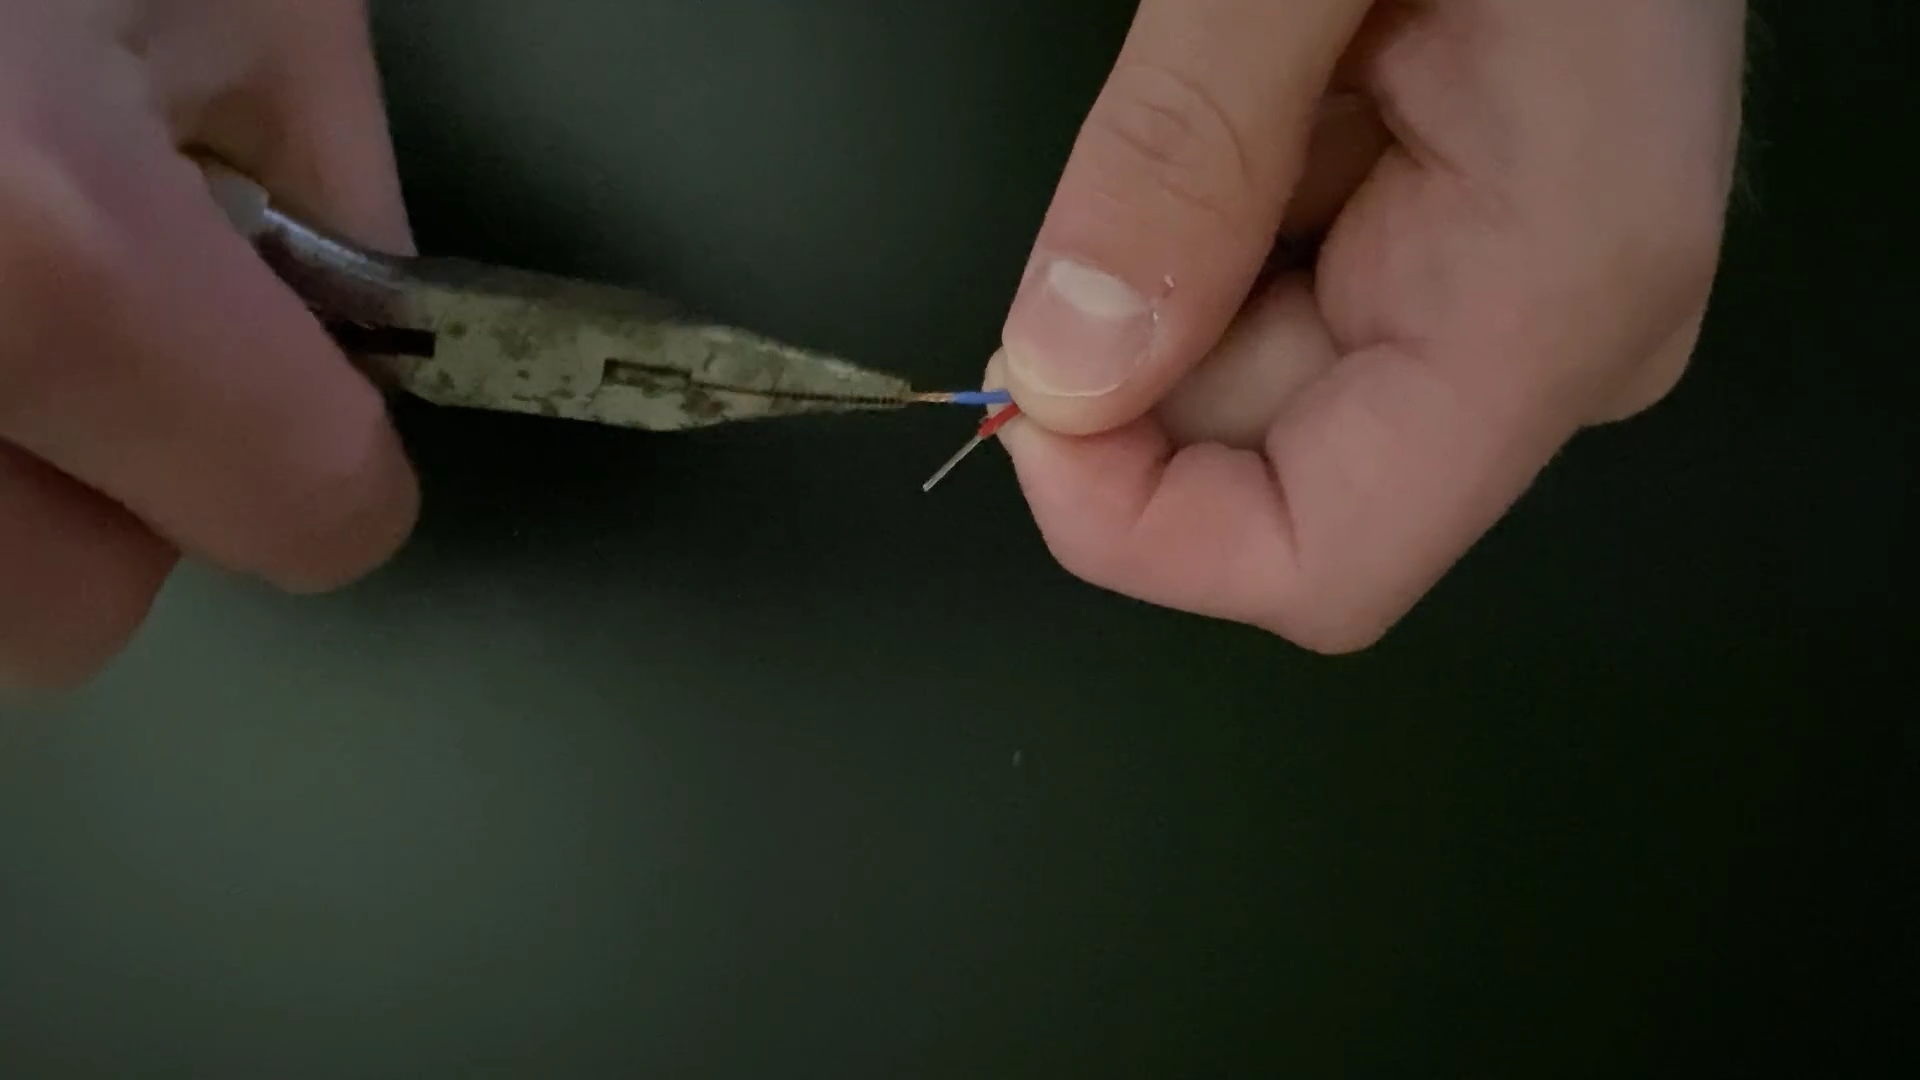
Clip the very ends of the twisted wires so they are especially tight.
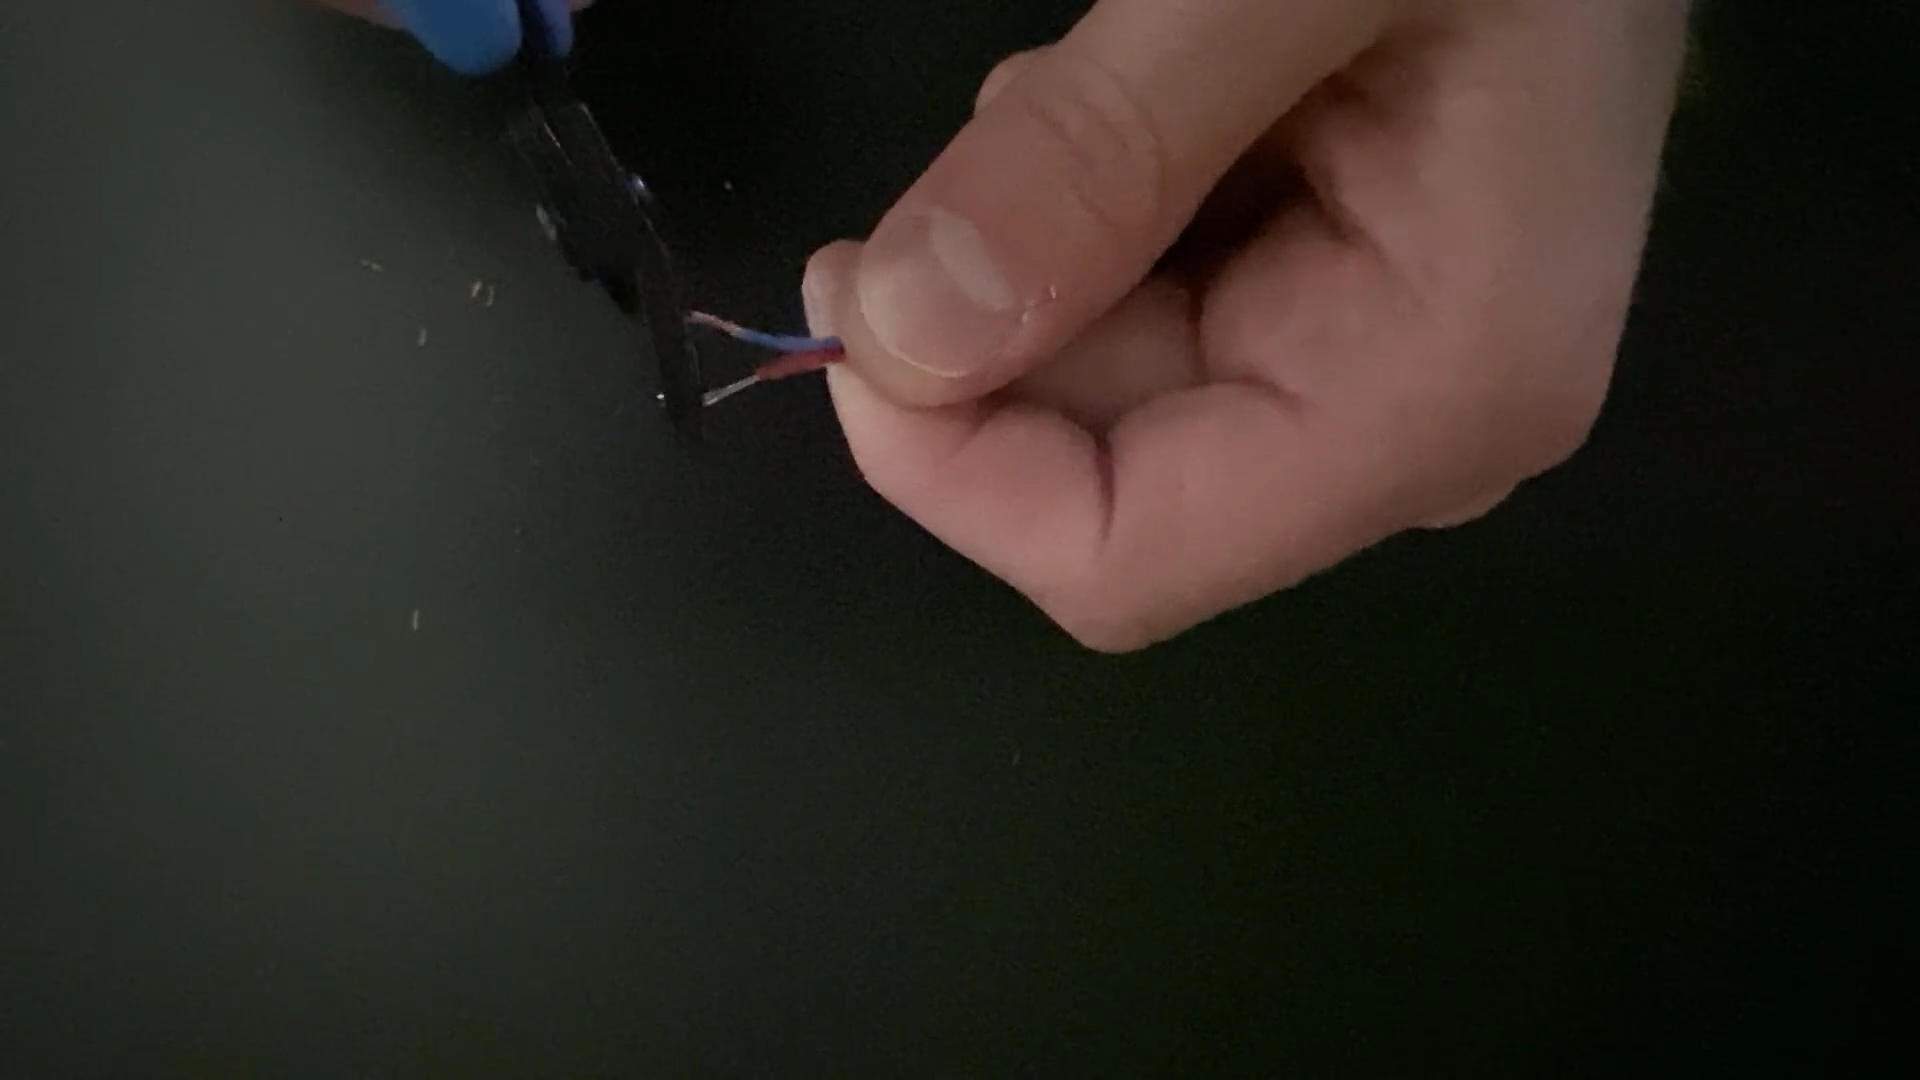
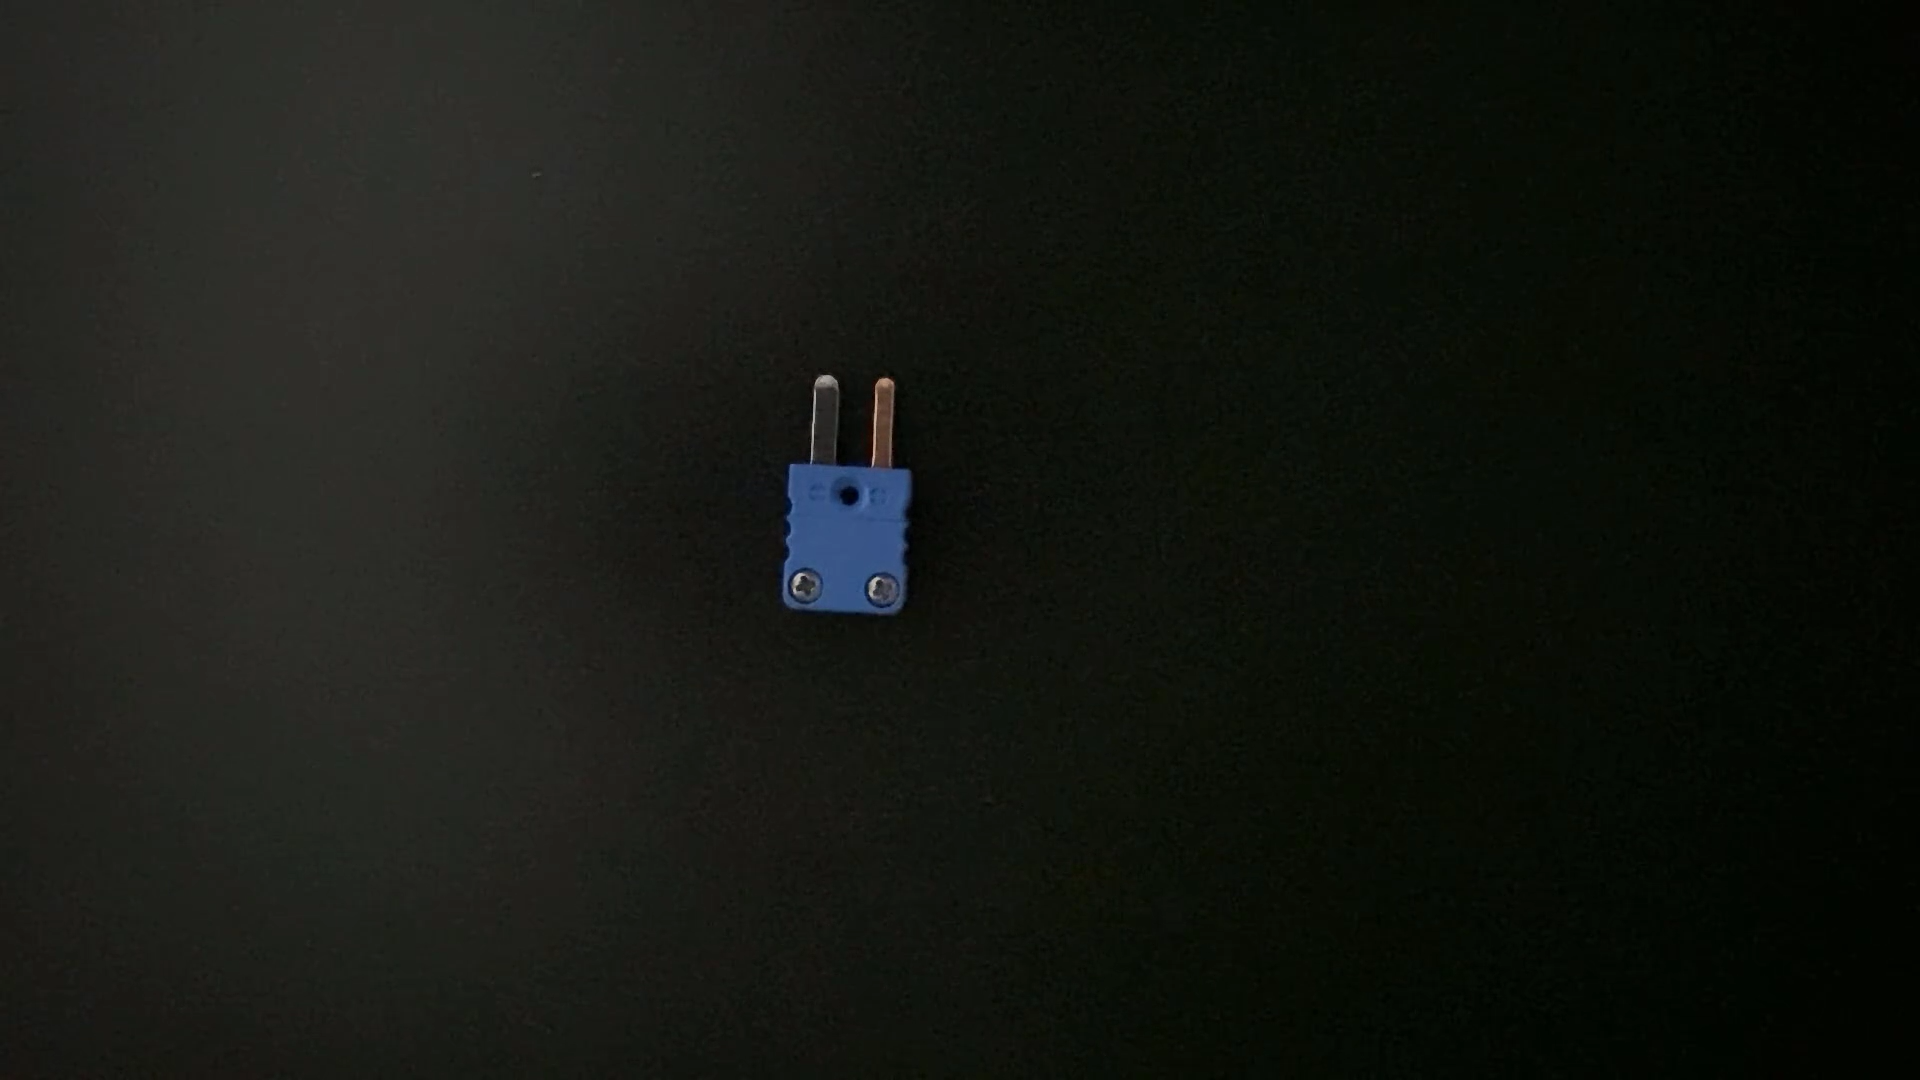
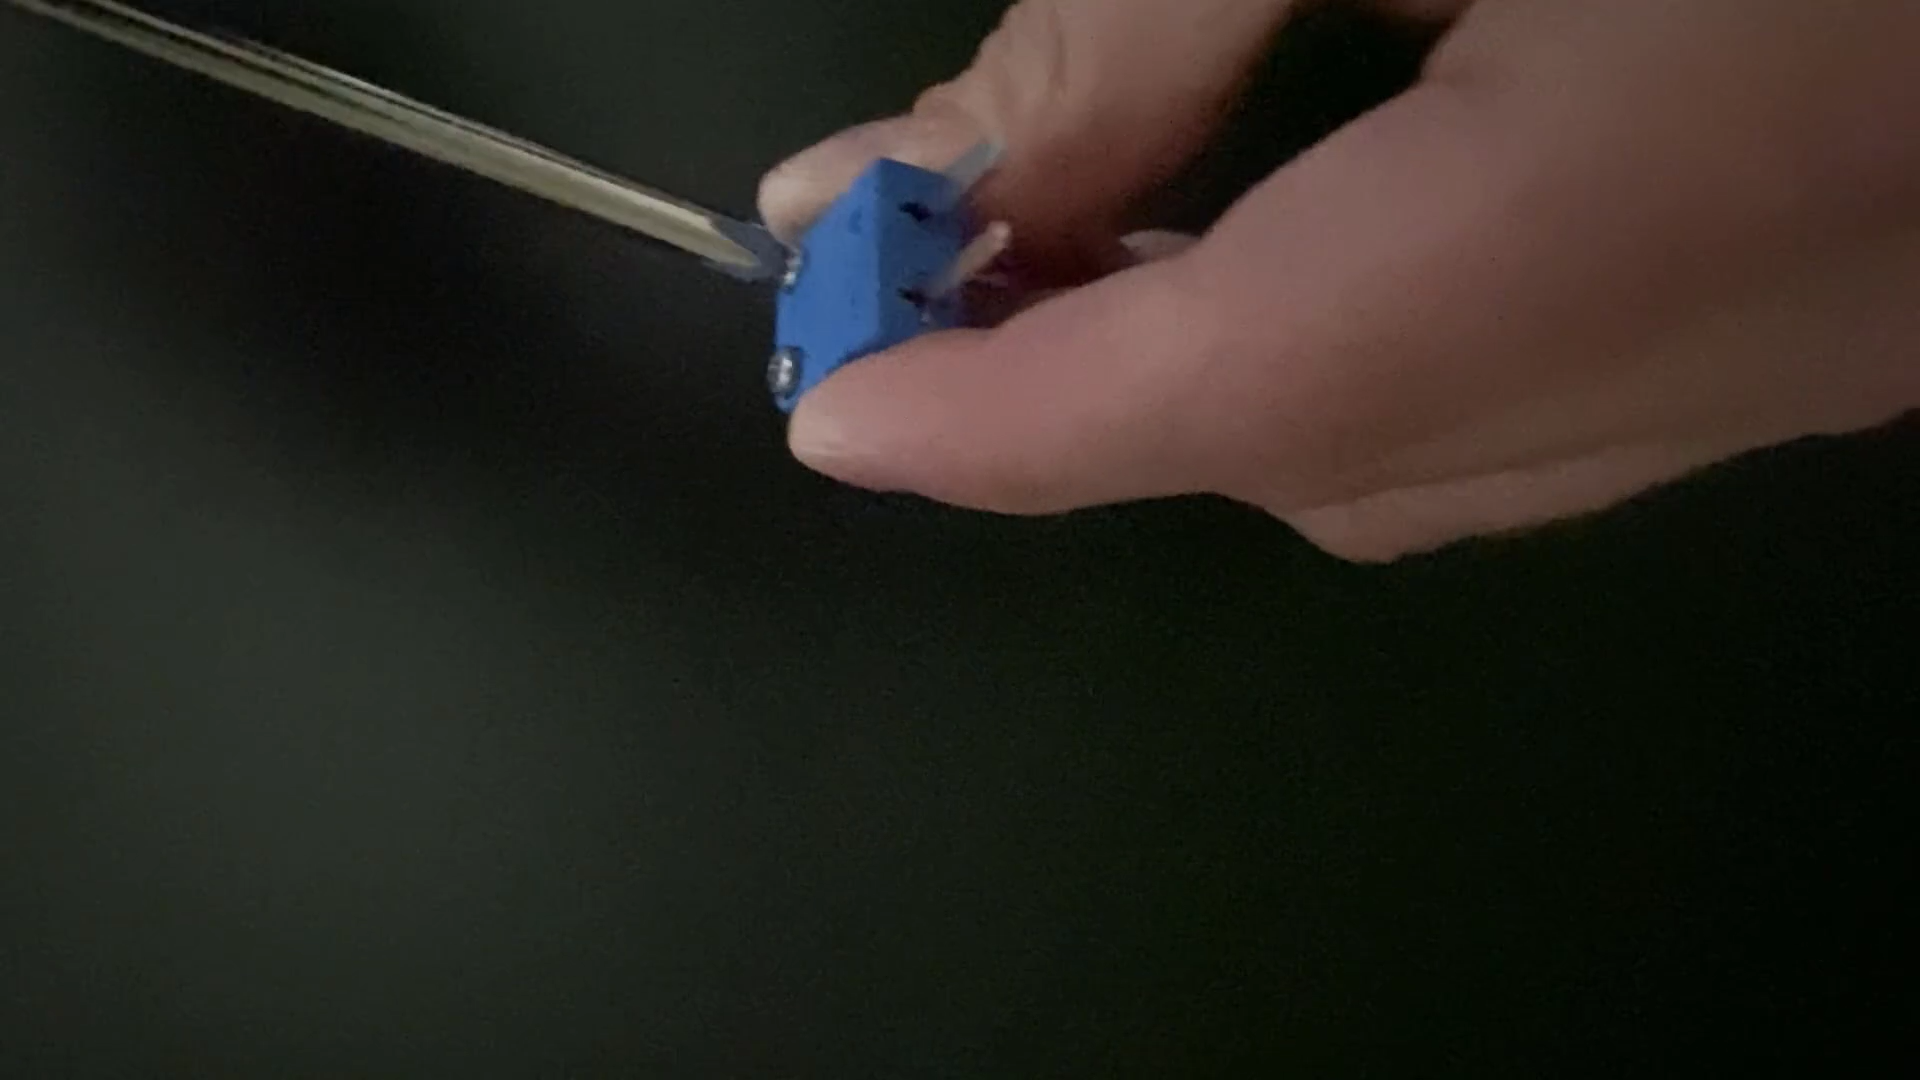
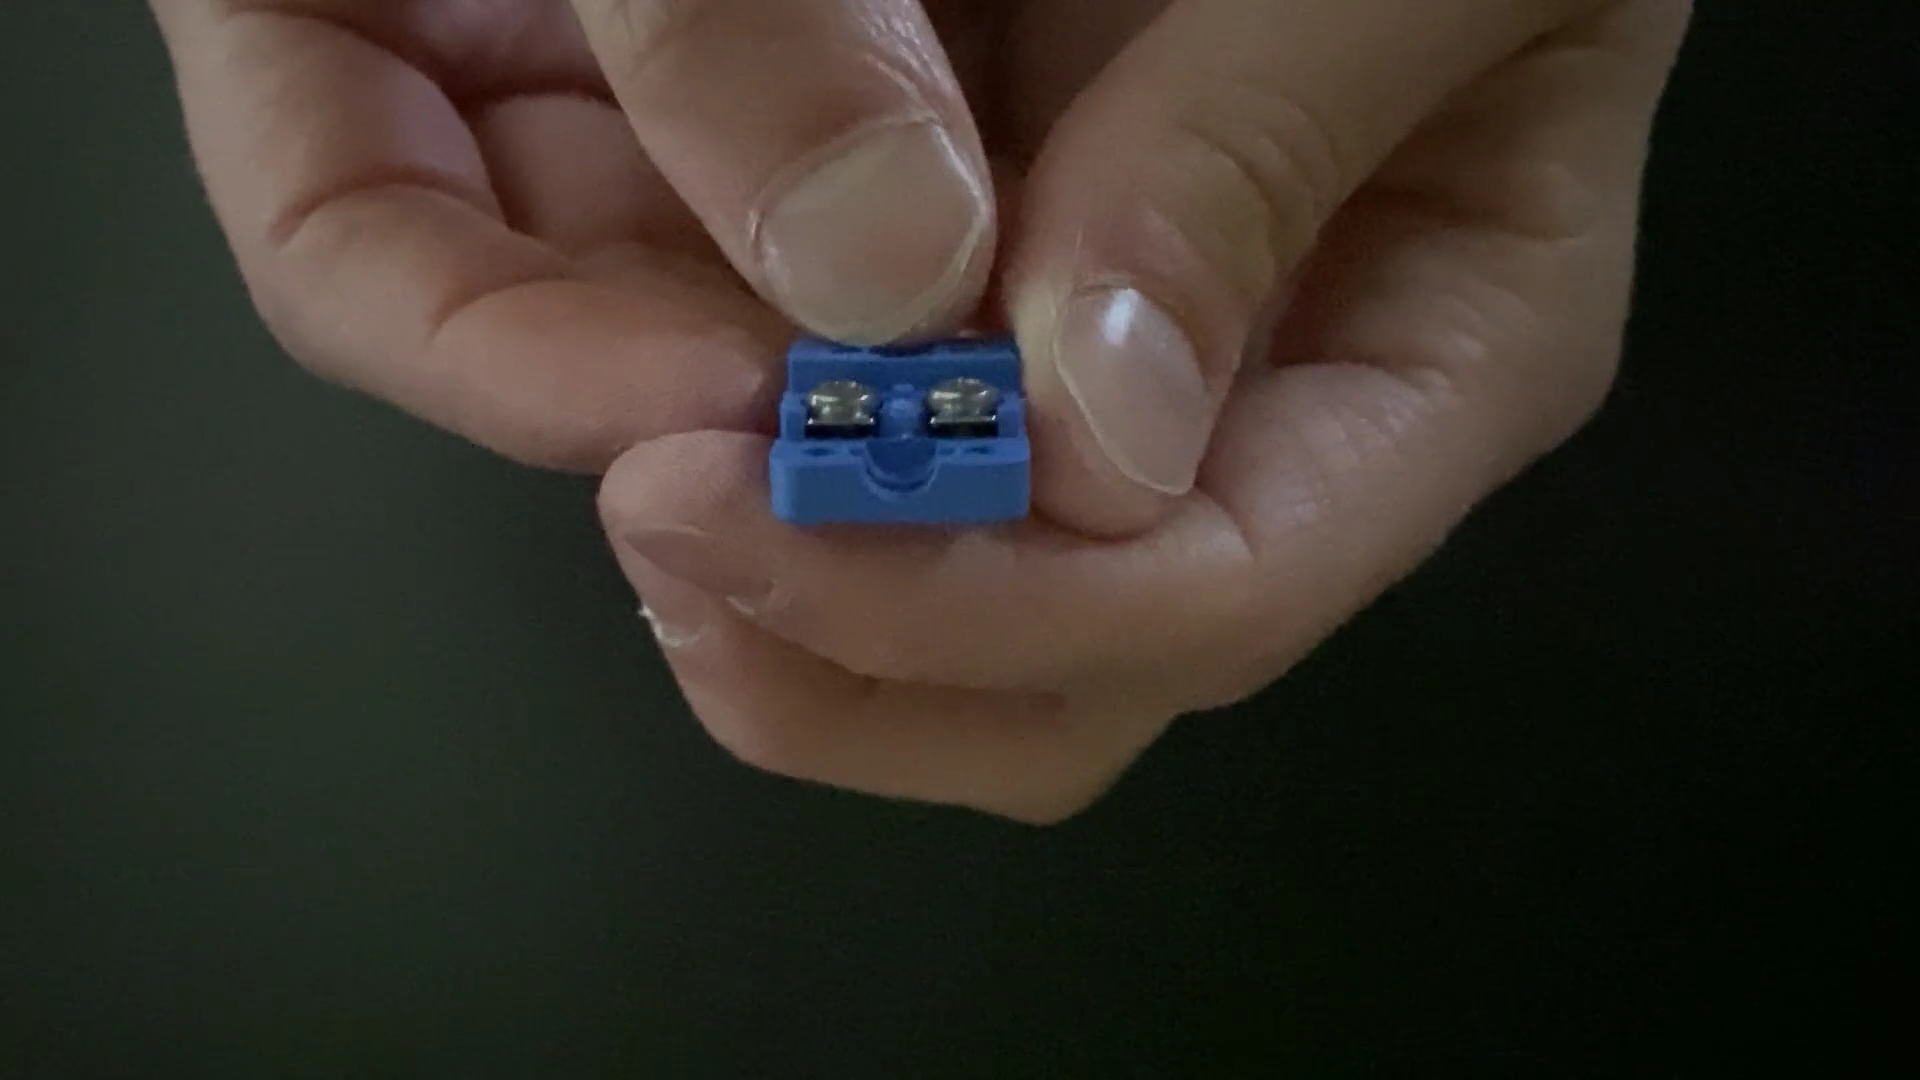
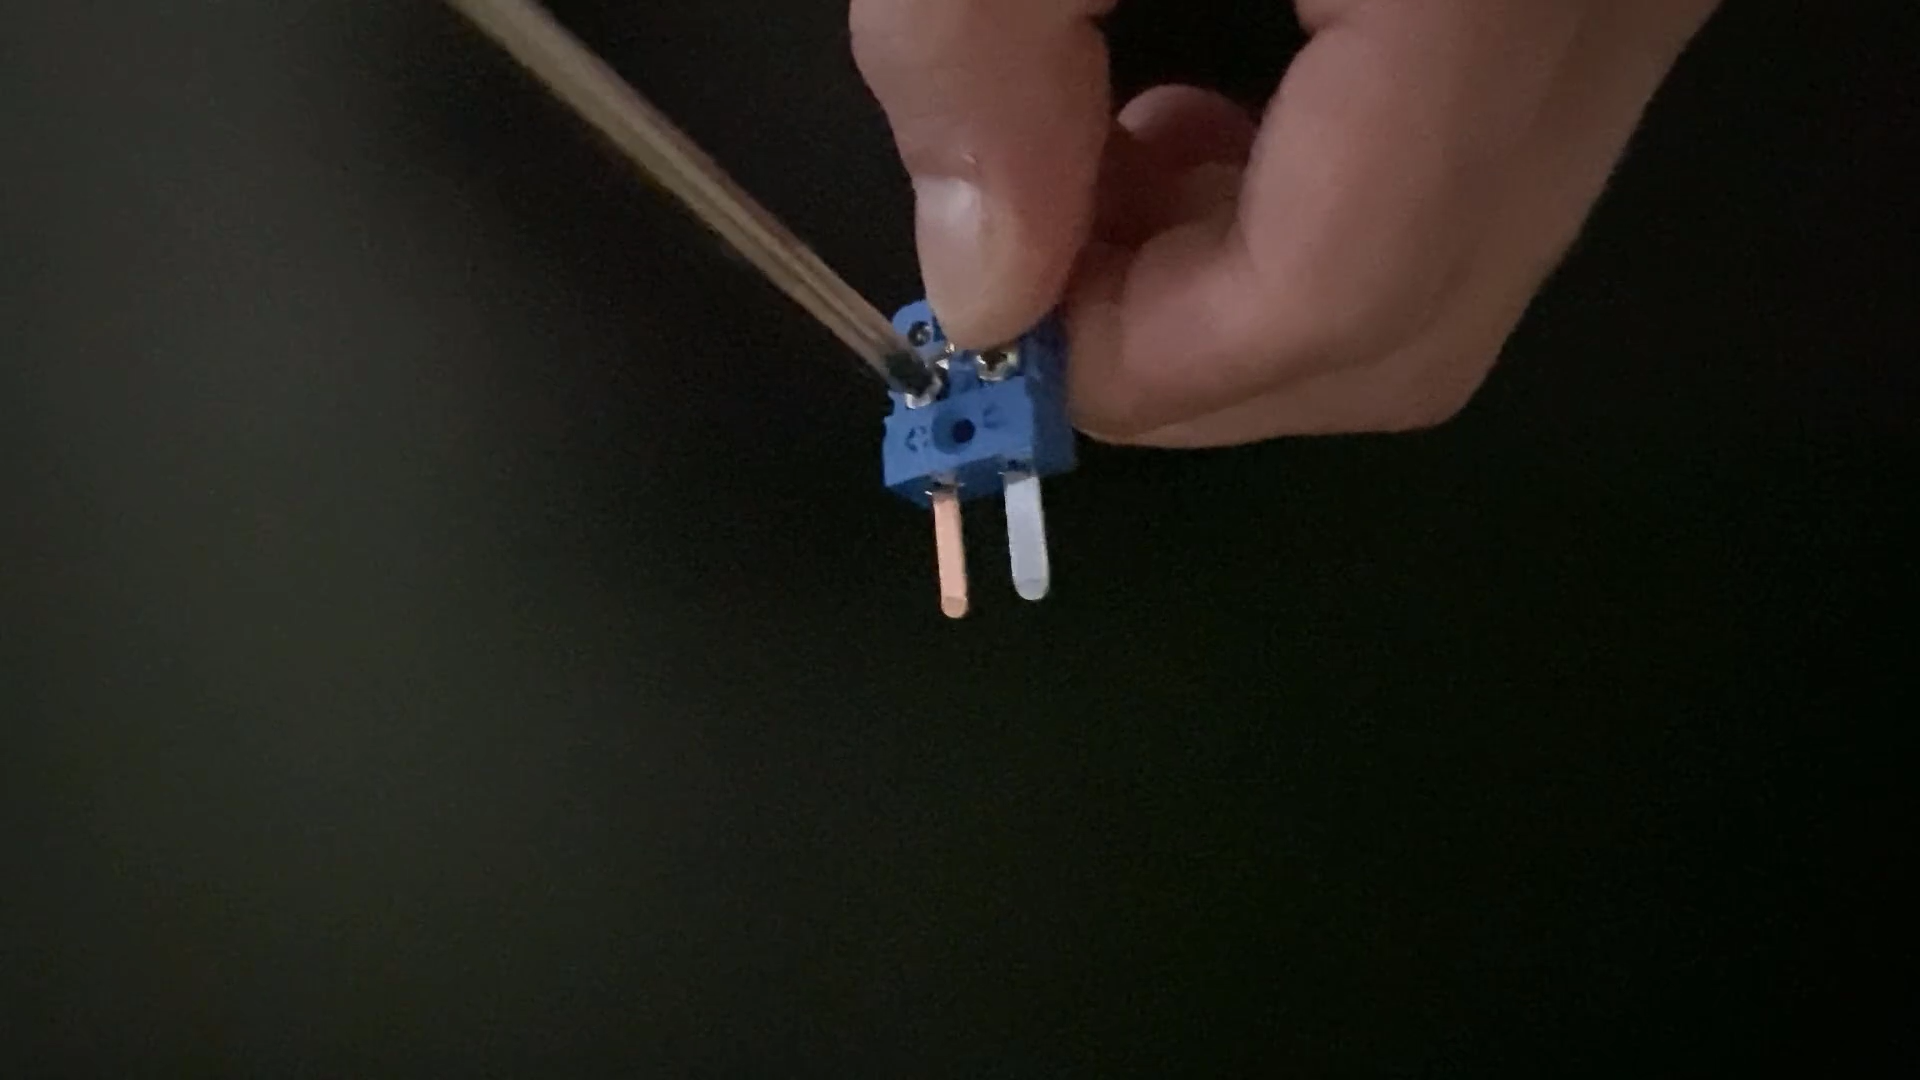
Take the connector and slightly unscrew the two screws holding the copper and constantan plates and pins together.
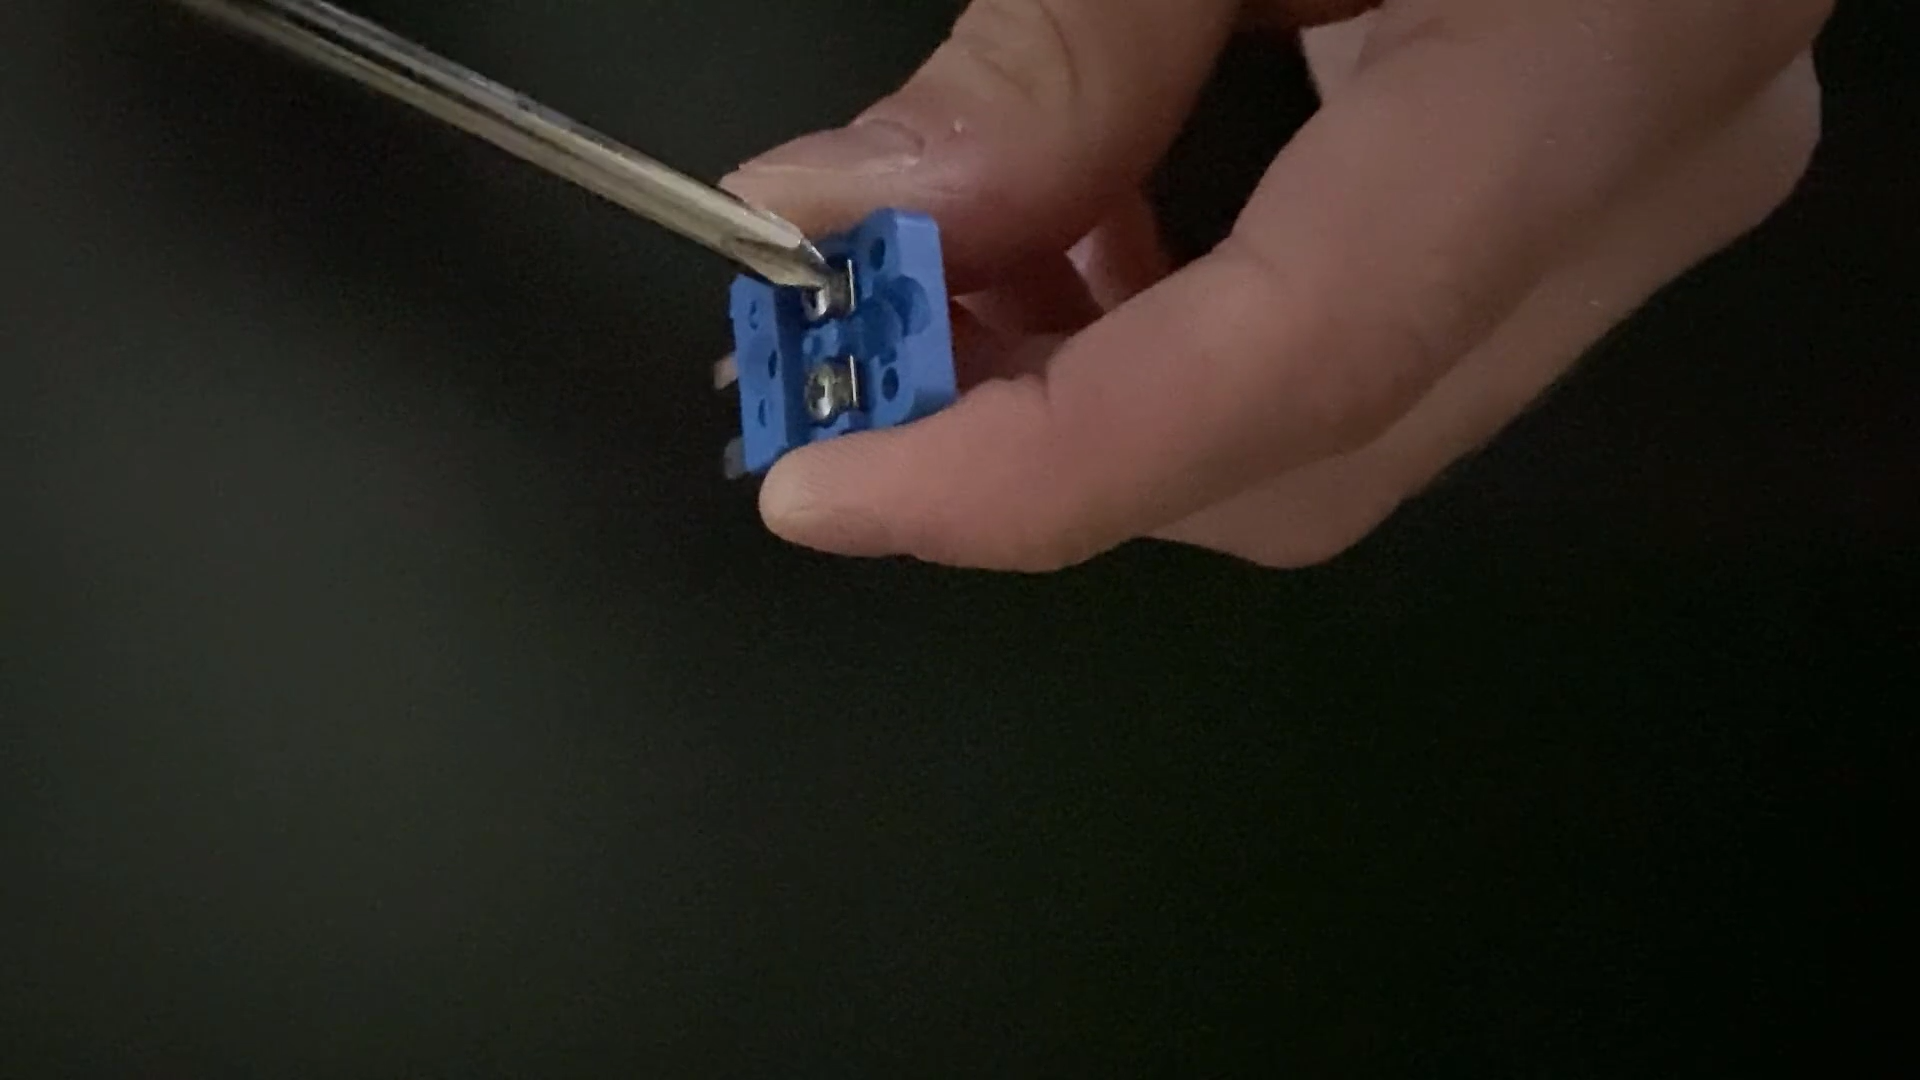
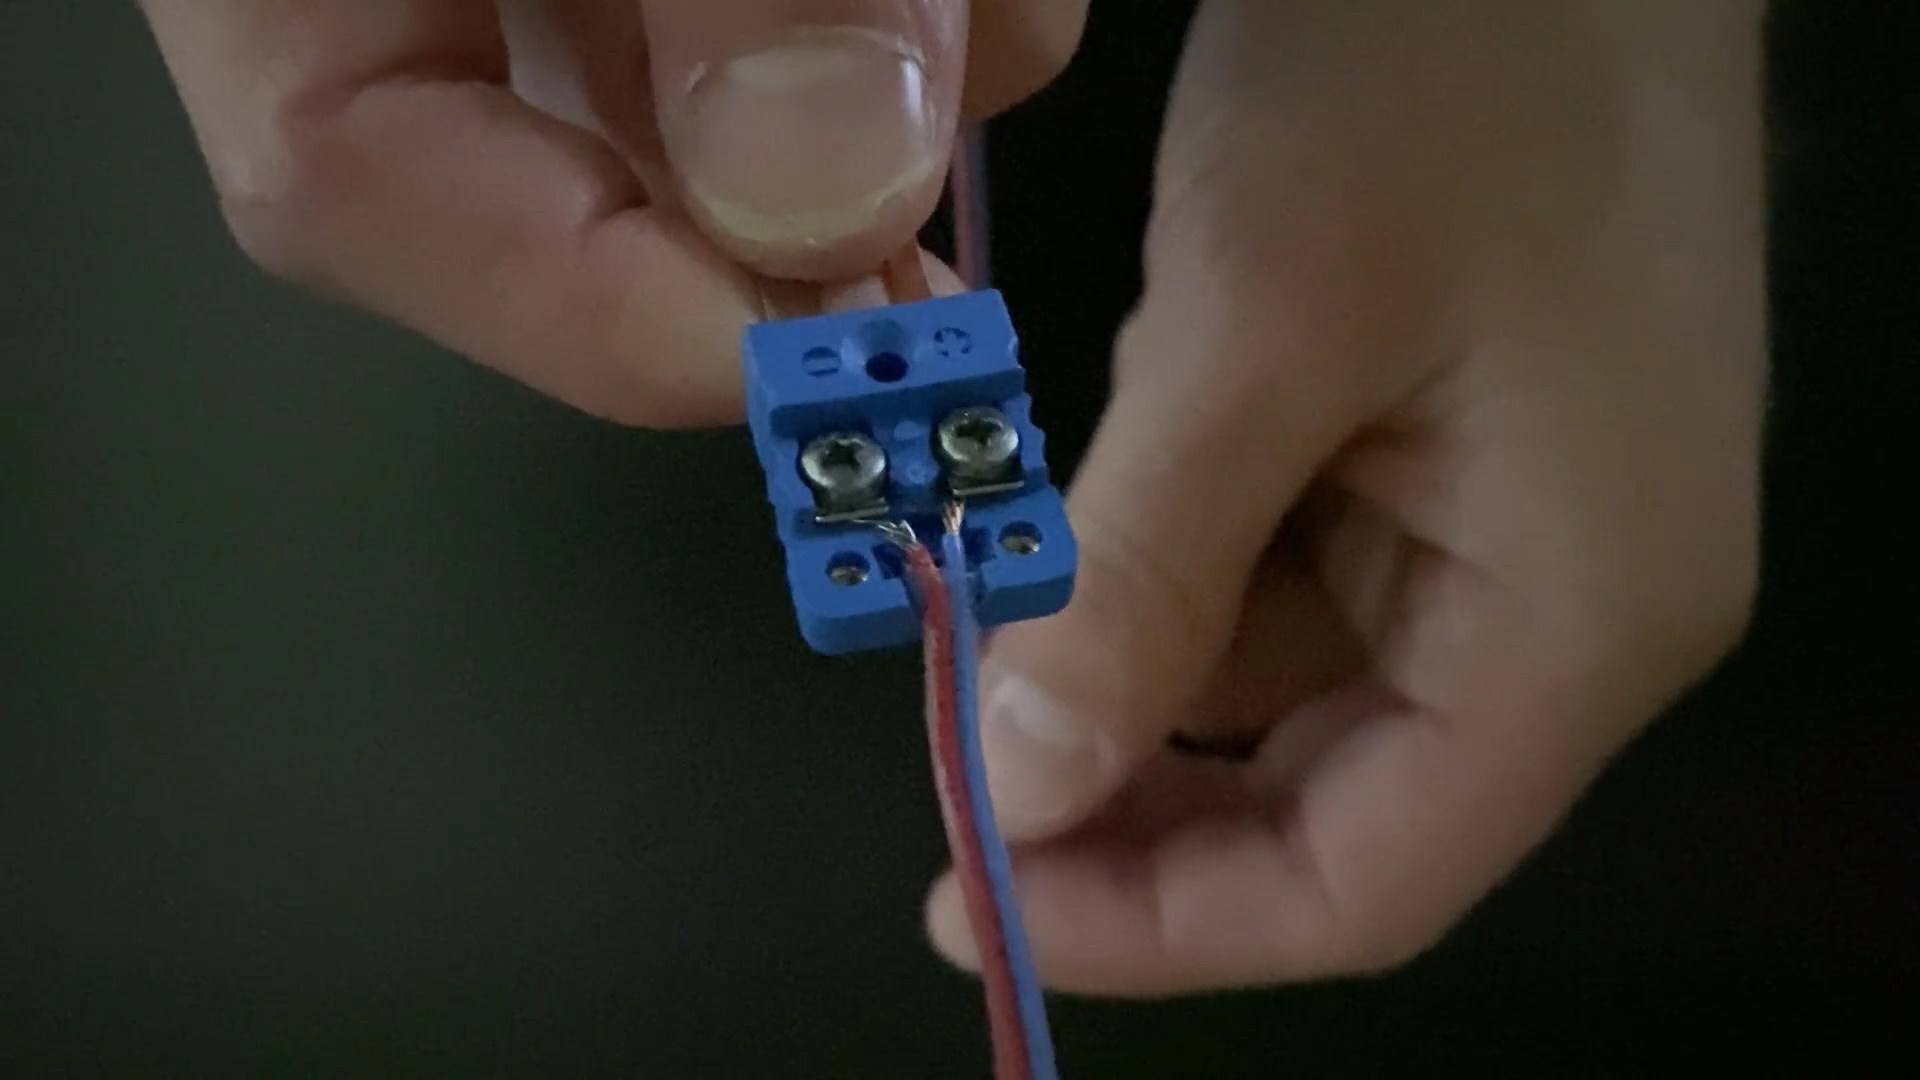
Thread the copper and constantan wires between their respective plates and pins, and tighten the screws so the wires are securely in place.
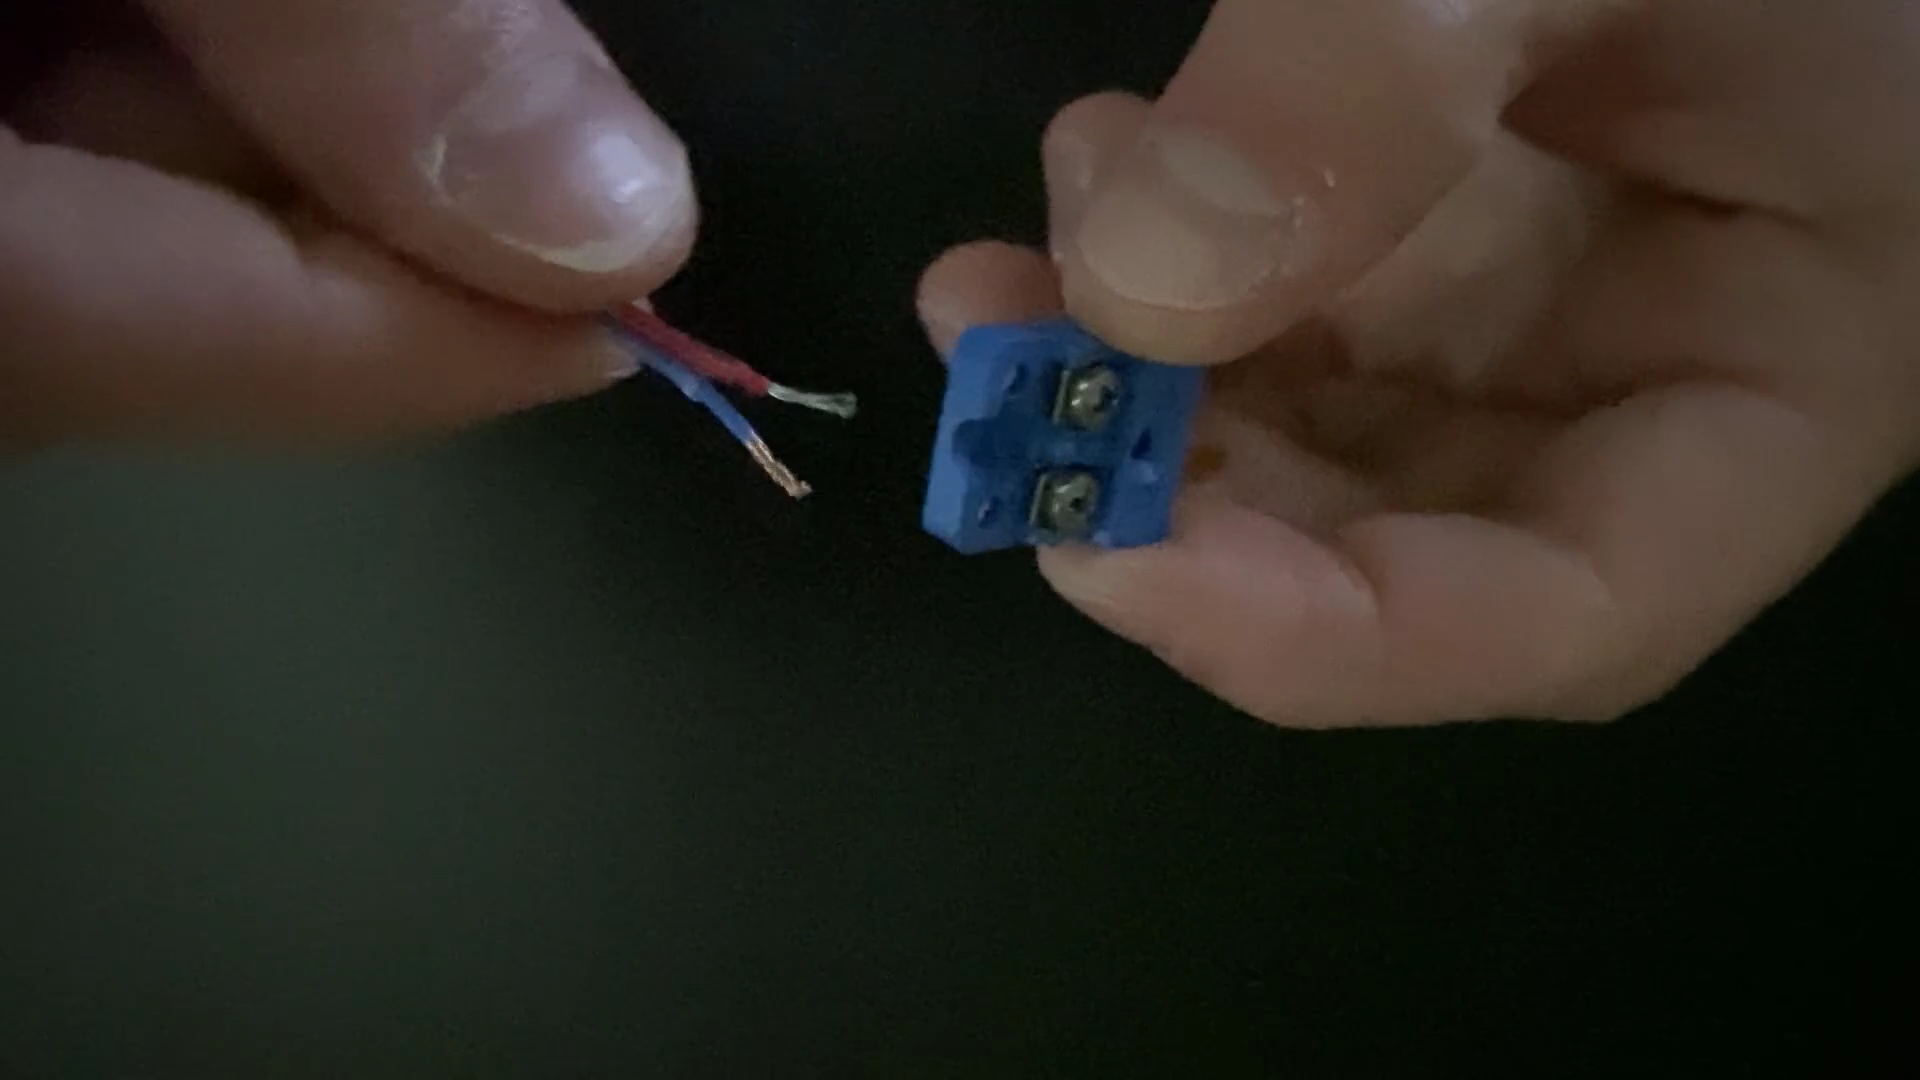
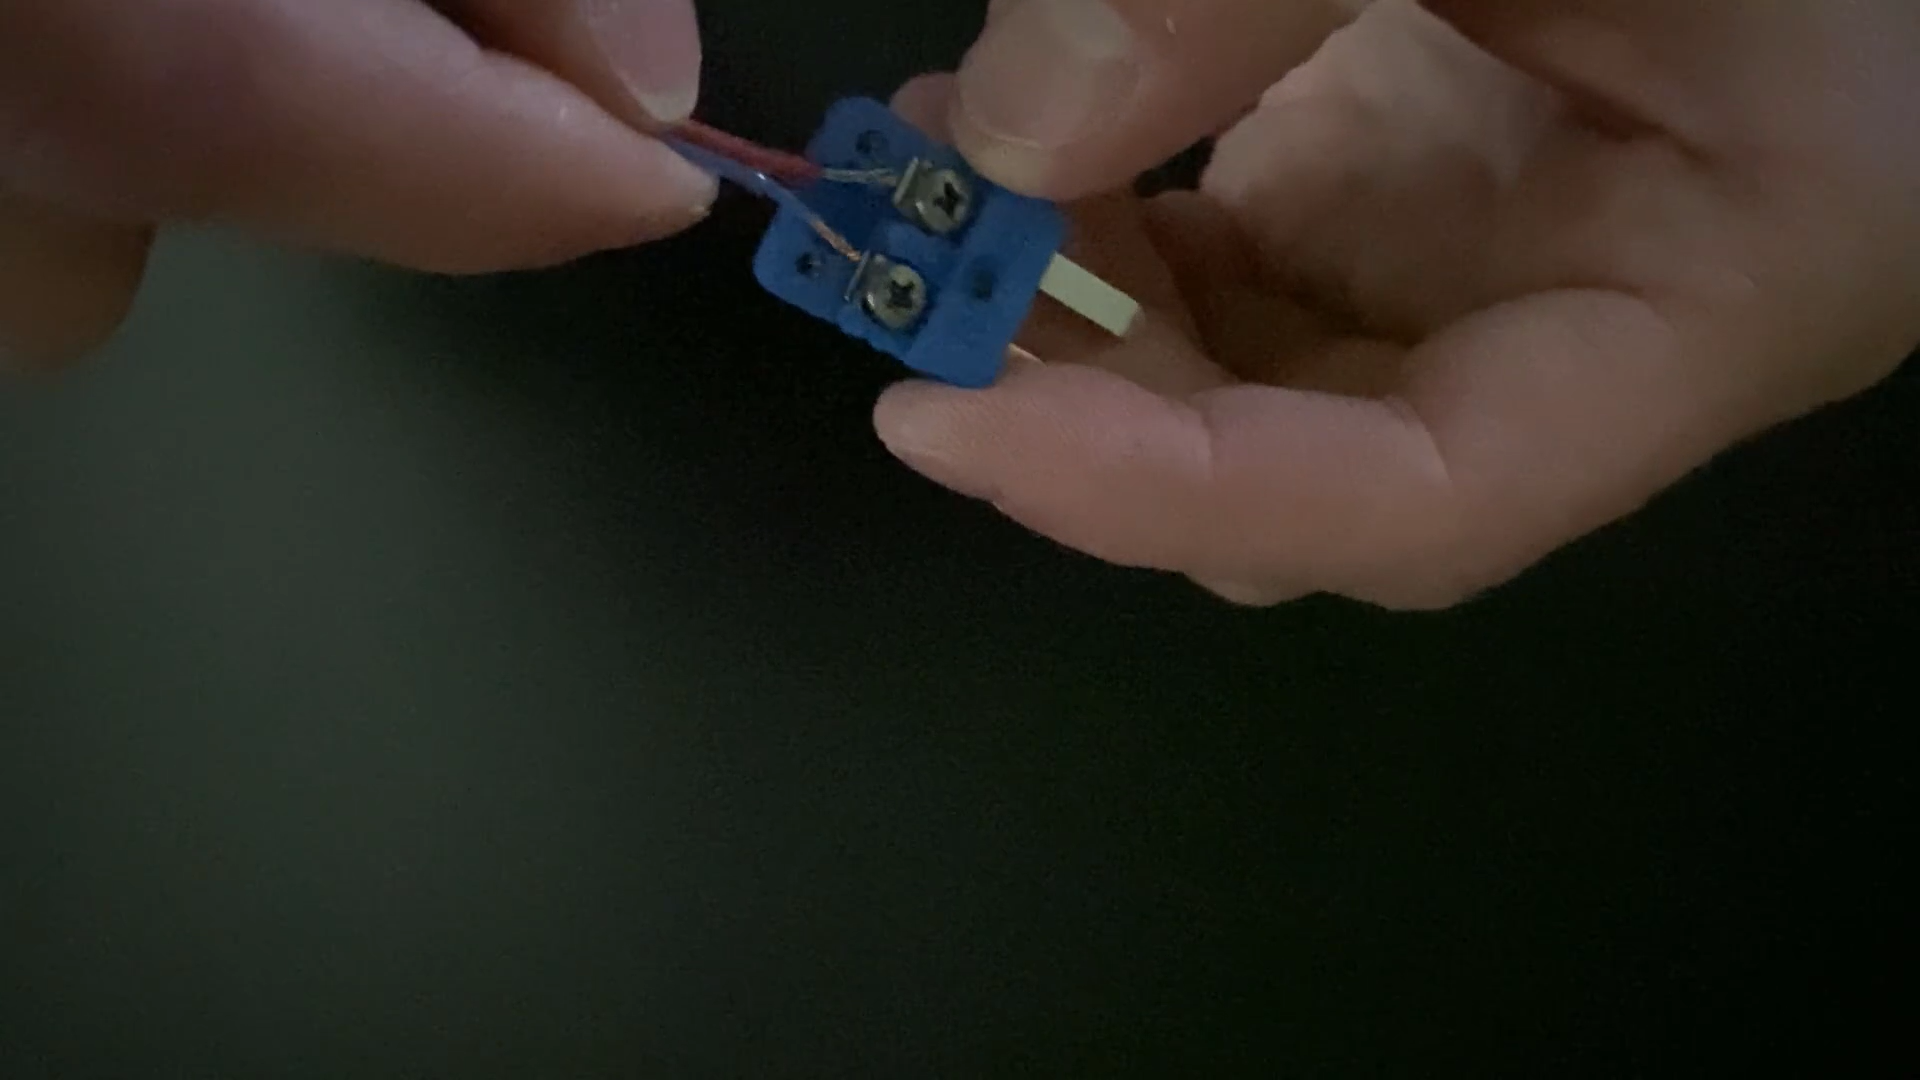
Make sure the wires are not loose.
Once both wires are securely attached to the connector, place the cover back on and screw the screws into it to reassemble the connector


The subminiature connector is now finished.